数据处理
由于数据集处理没有标准化操作流程,故以图片类数据集"CoVLA"的处理作为样例展示,供用户参考。
数据介绍
本次示例以图片类数据集“CoVLA”为样本进行数据处理。
上传数据
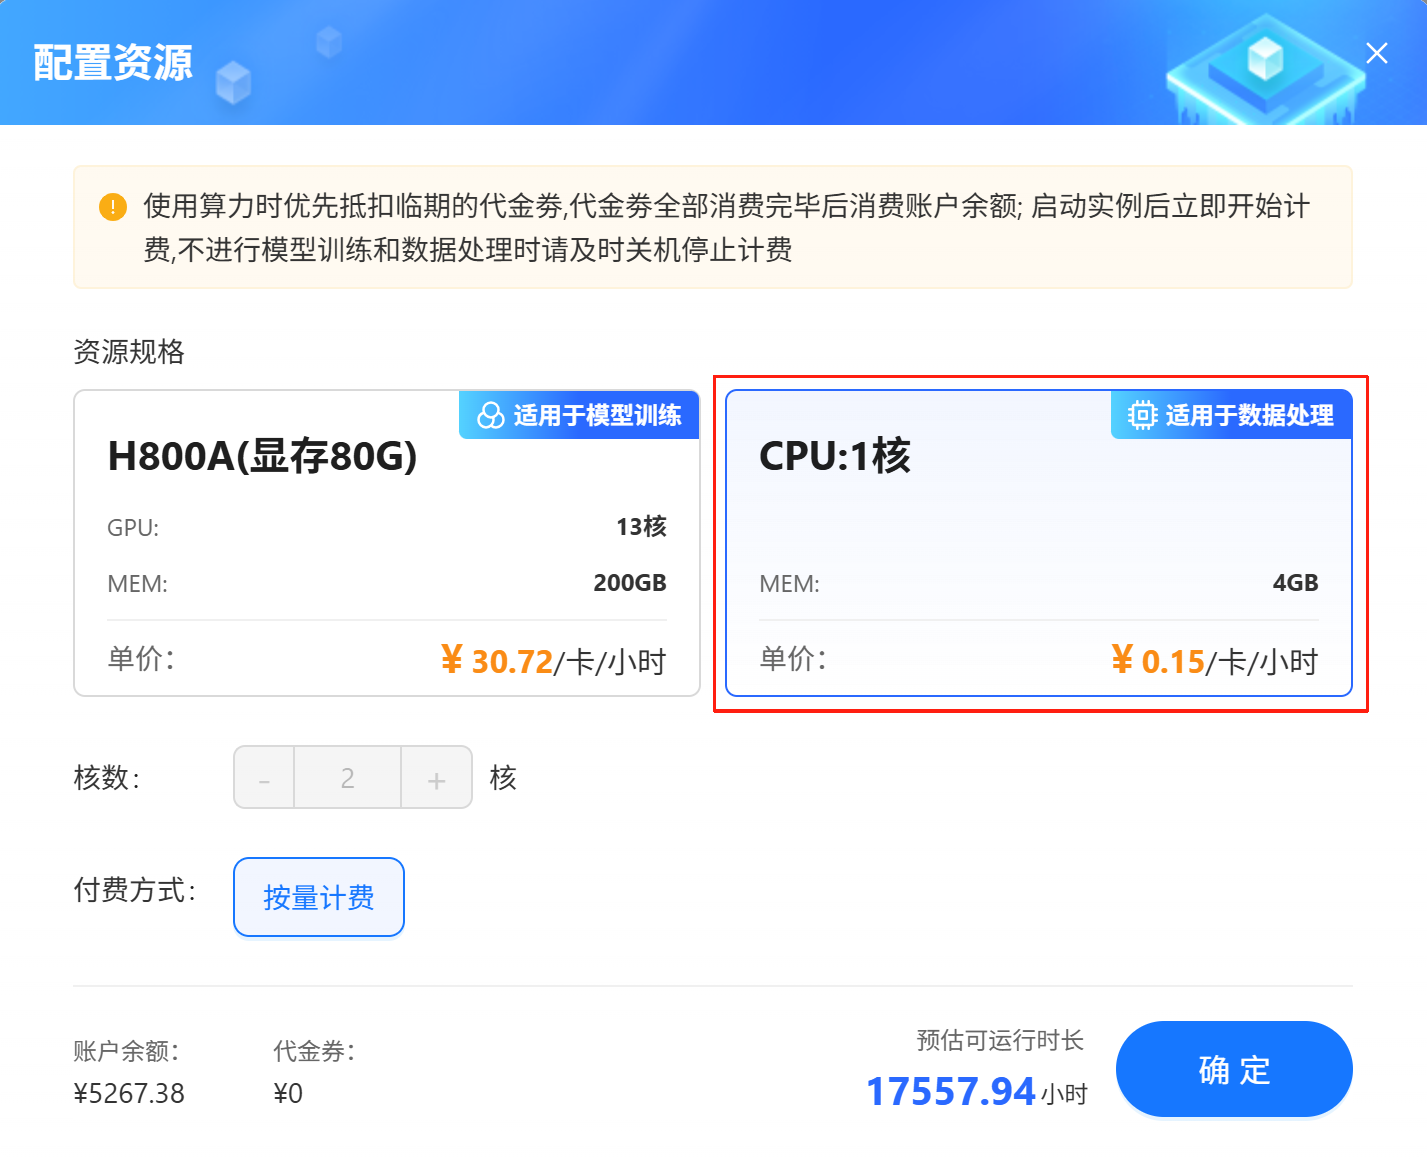
数据处理推荐使用CPU。
-
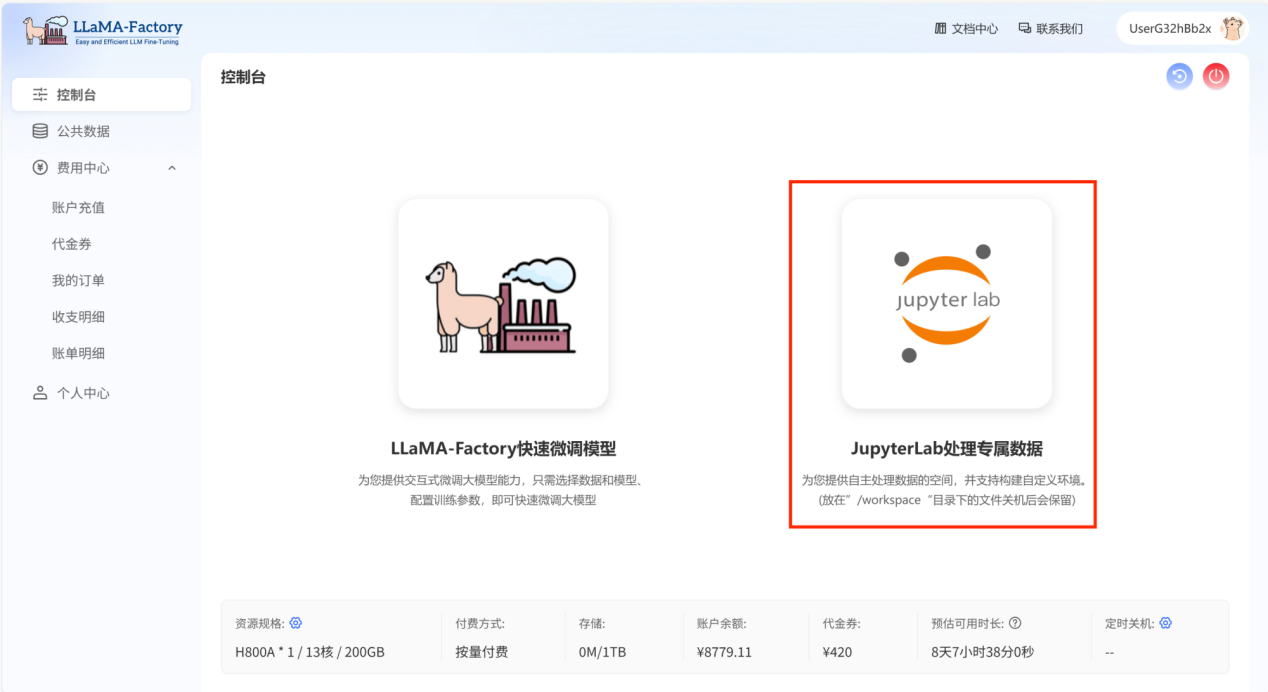
登录账号,打开控制台。 点击“JupyterLab处理专属数据”,进行数据处理。
-
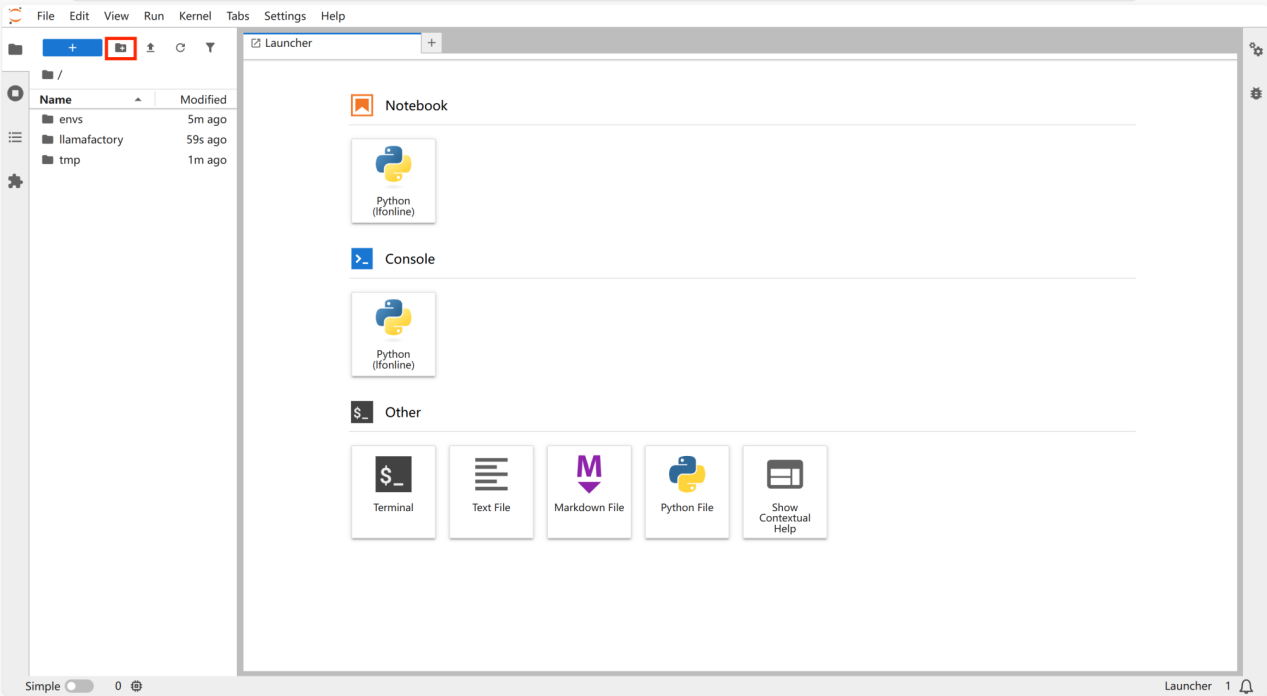
点击新建文件夹,命名为“script”。
- 数据集以及微调后的模型默认在workspace目录下。
下载数据集“CoVLA”,并拖动到“script”文件夹。
-
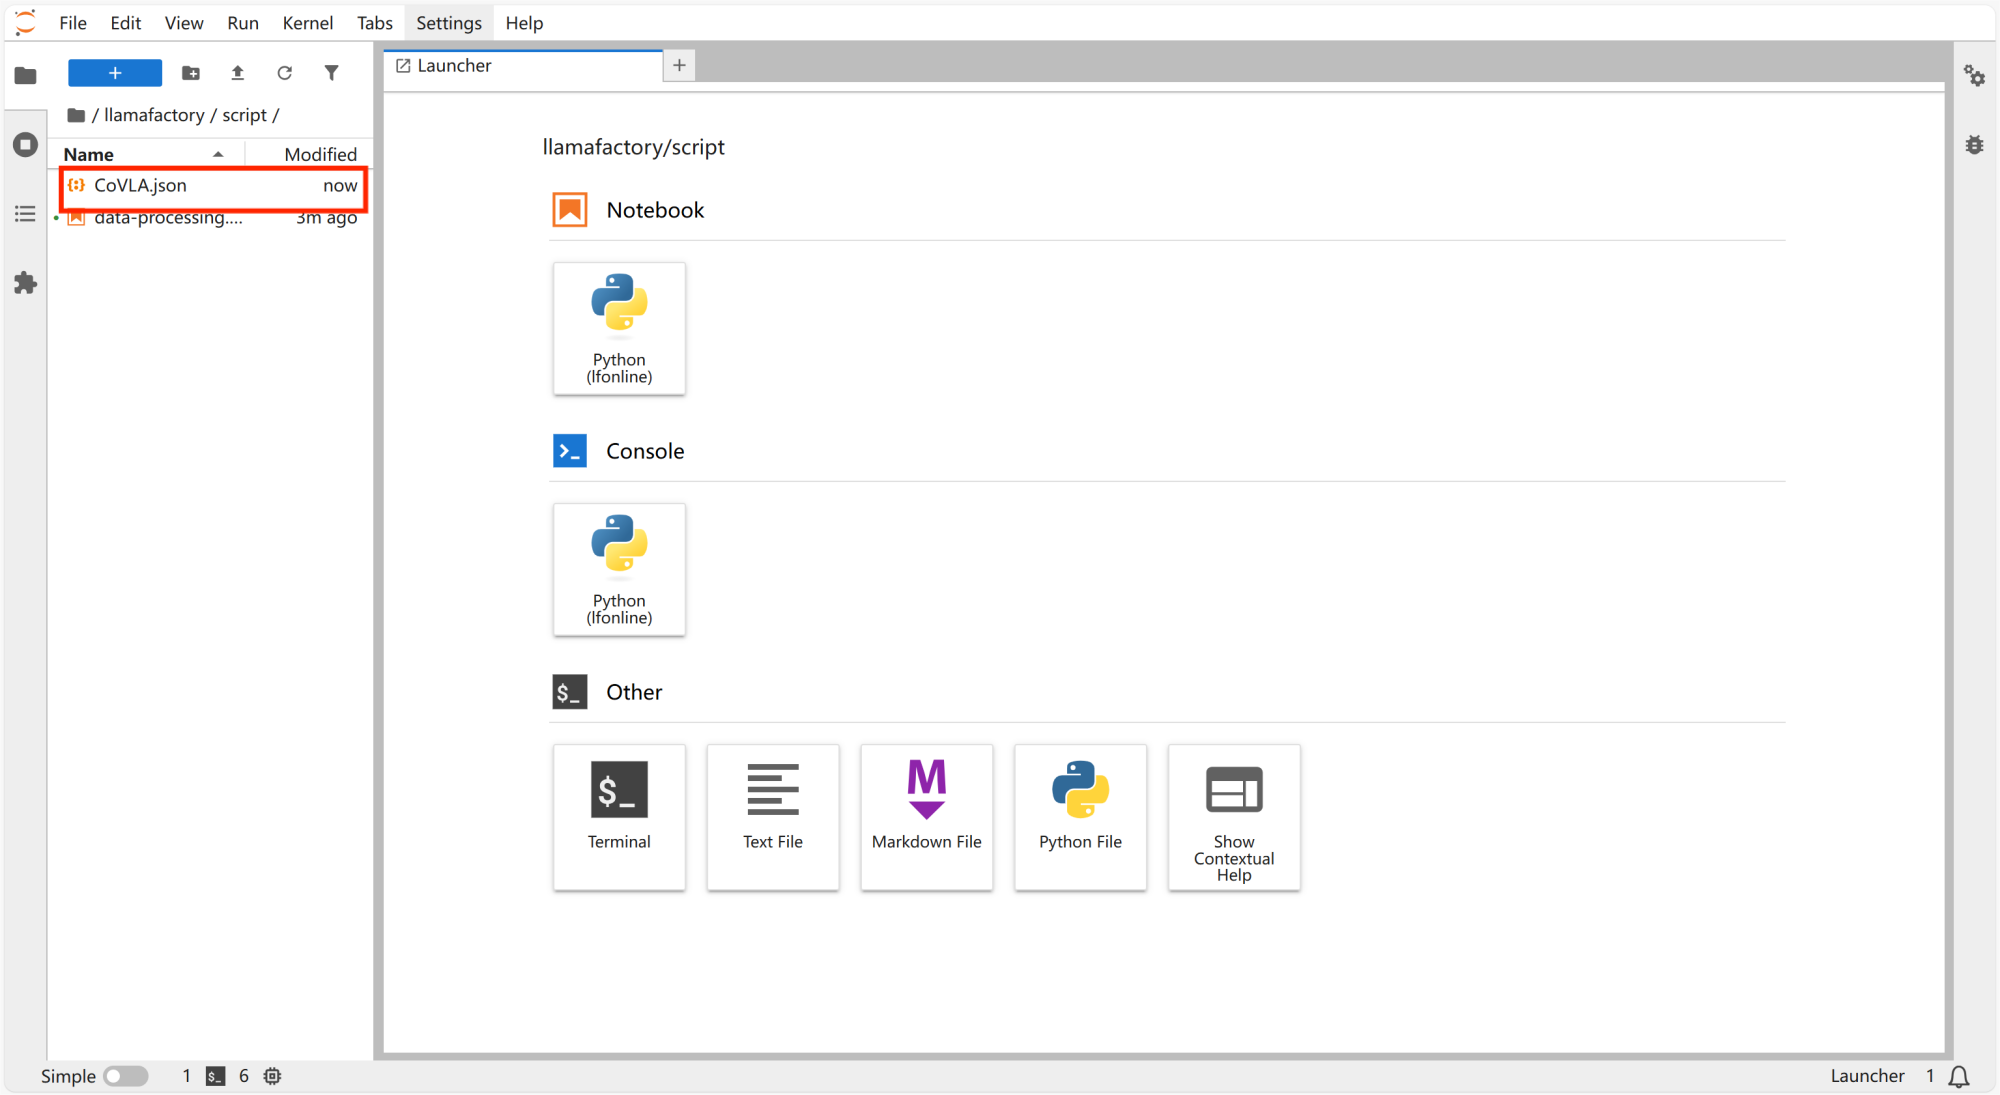
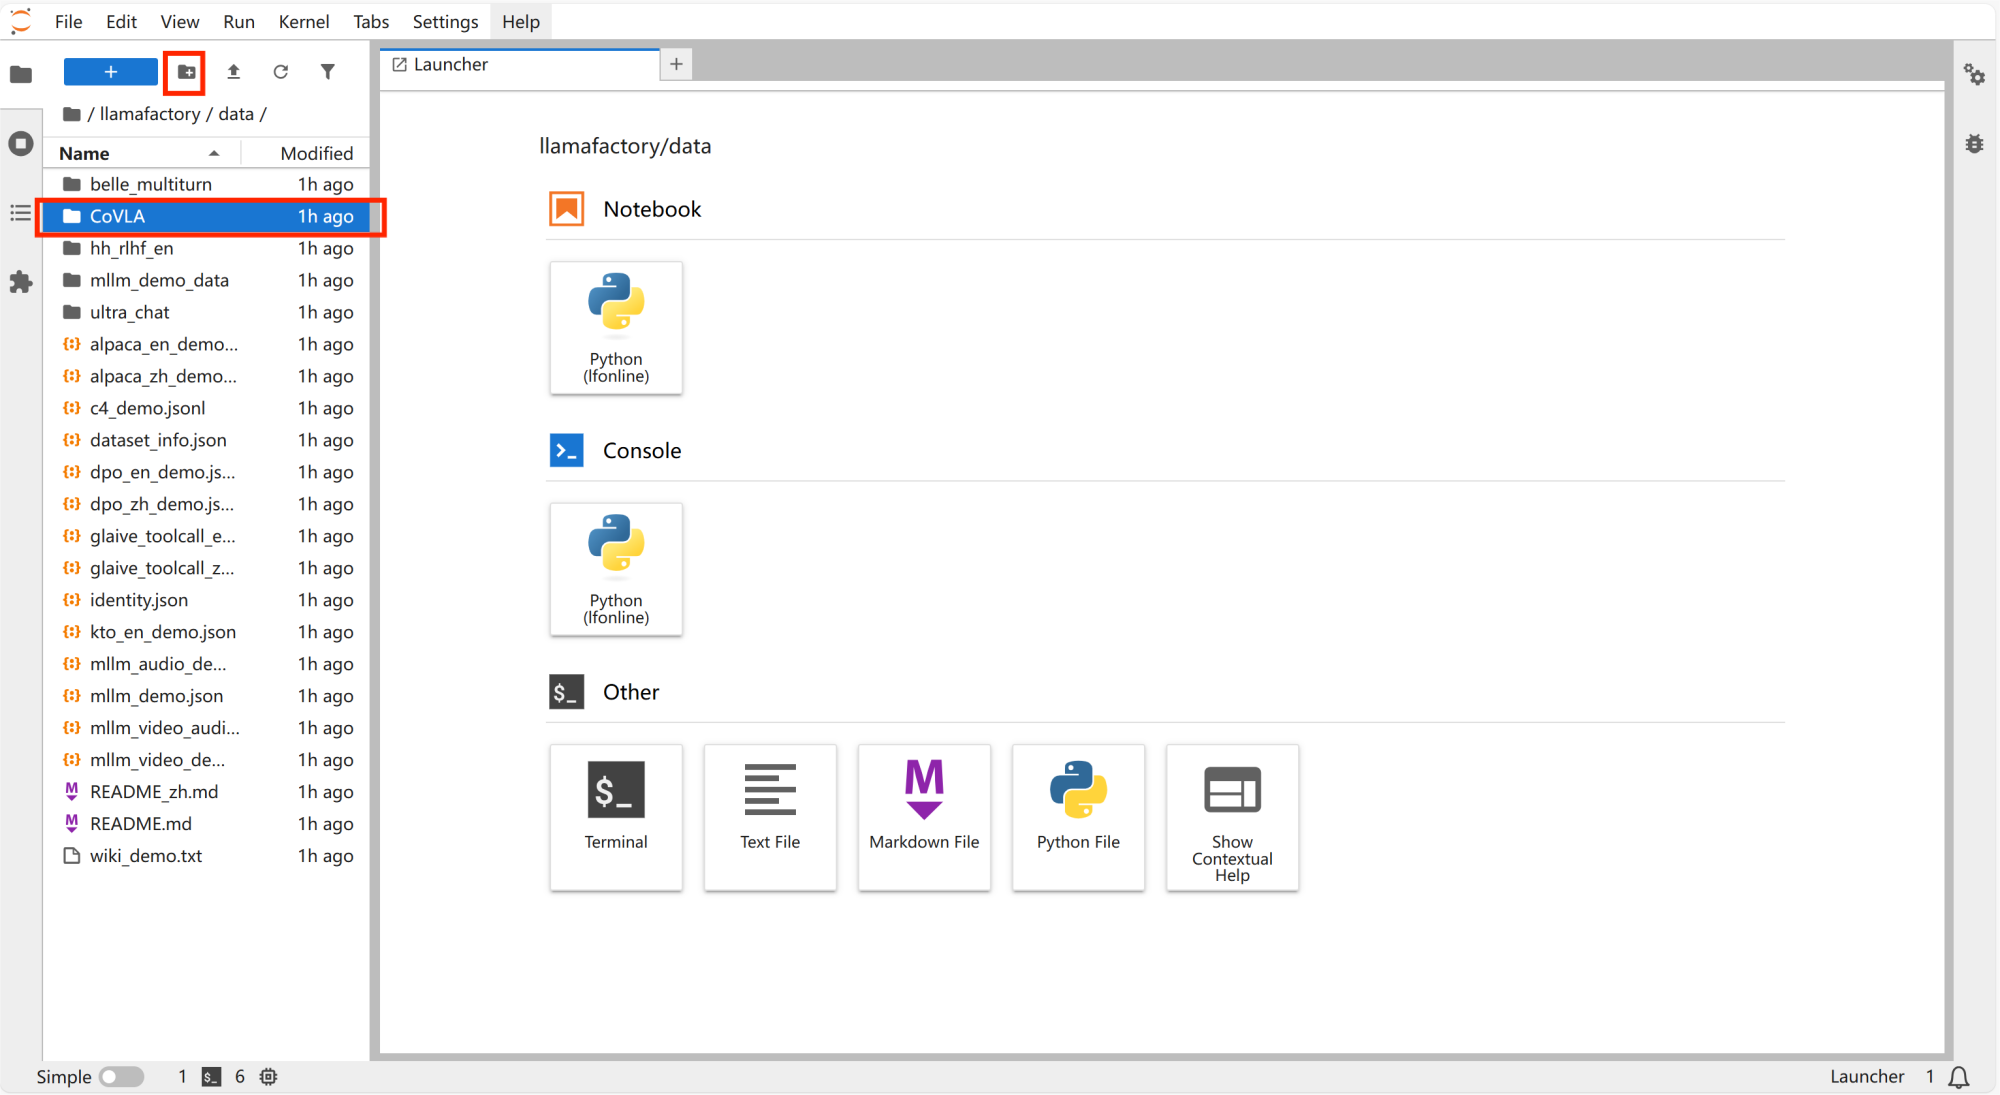
在“/llamafactory/data”文件夹里新建文件夹,并命名为“CoVLA”。
-
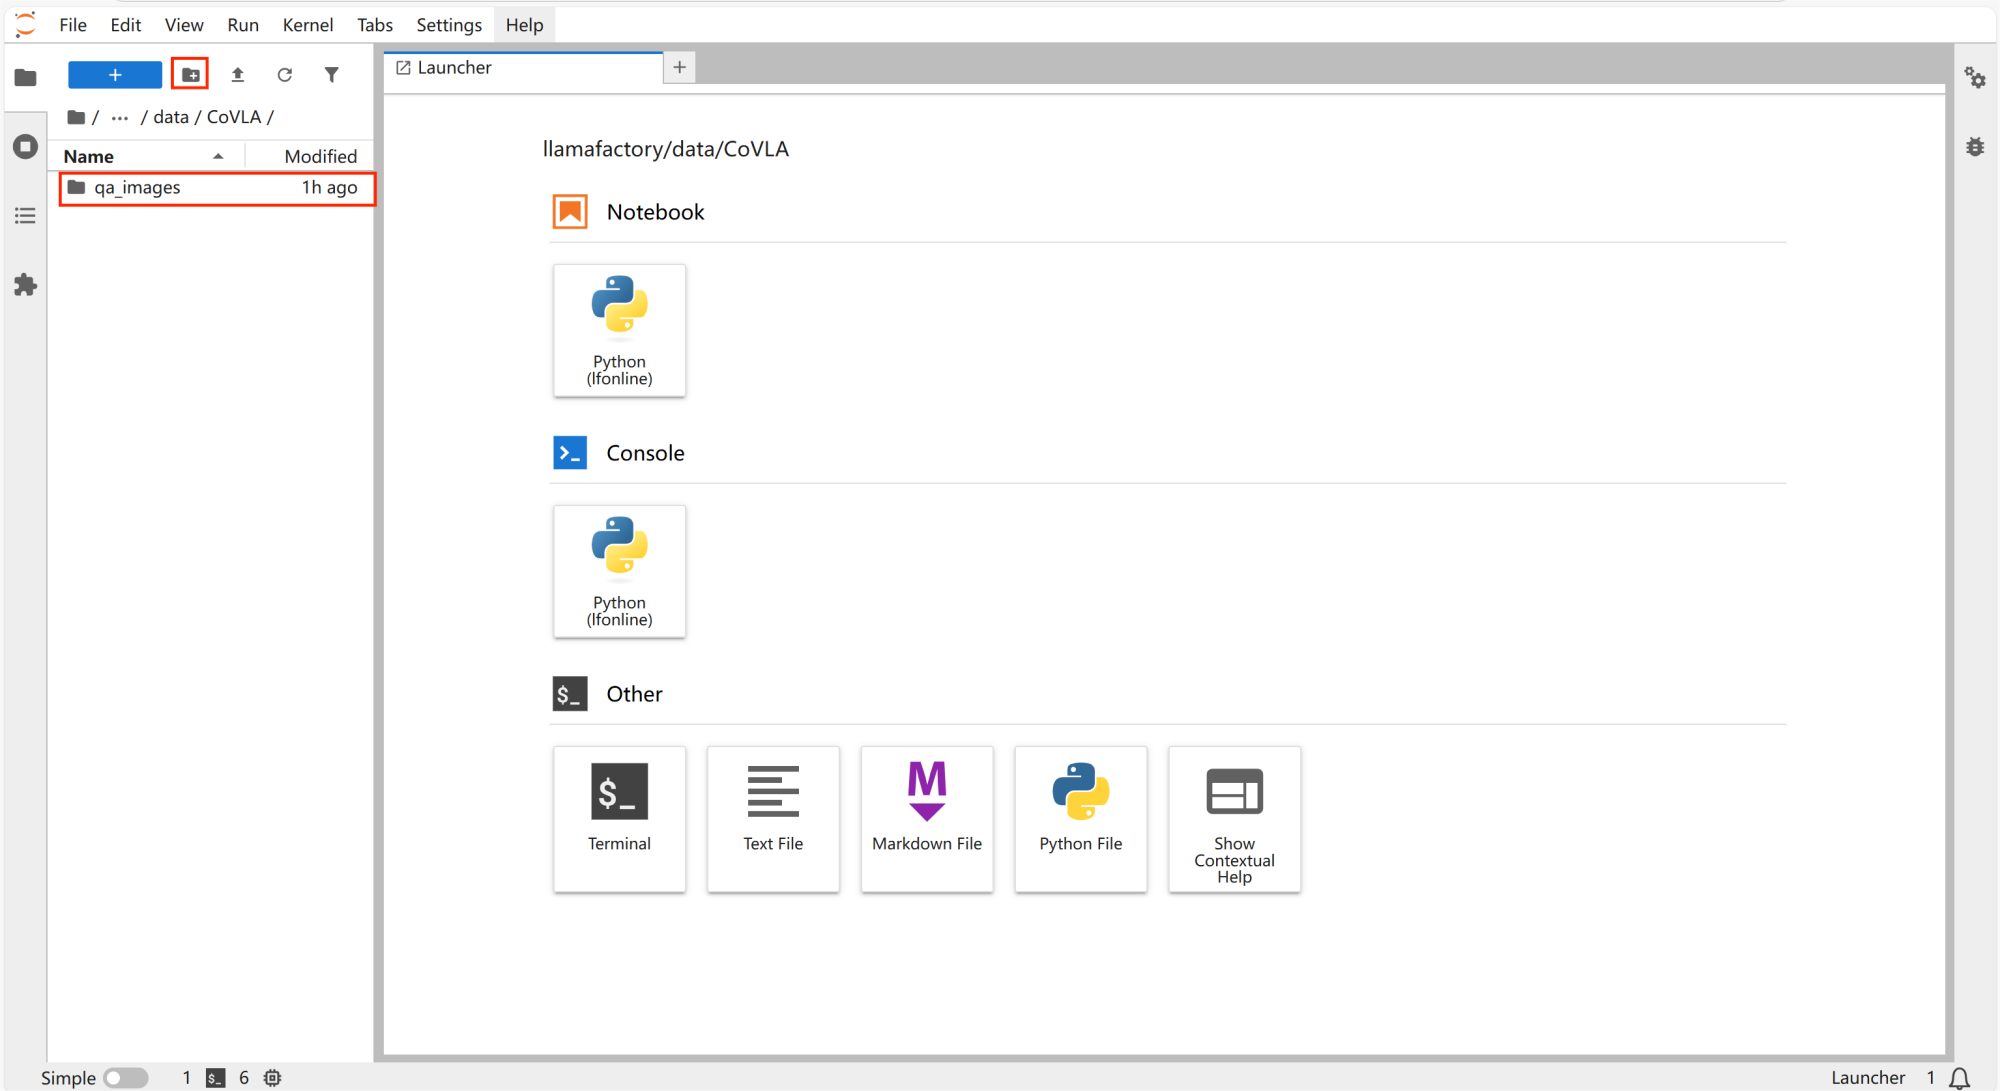
打开“CoVLA”文件,新建文件夹并命名为“qa_images”。
数据转换
使用该脚本将数据集处理成llamafactory online支持的微调数据集格式。
-
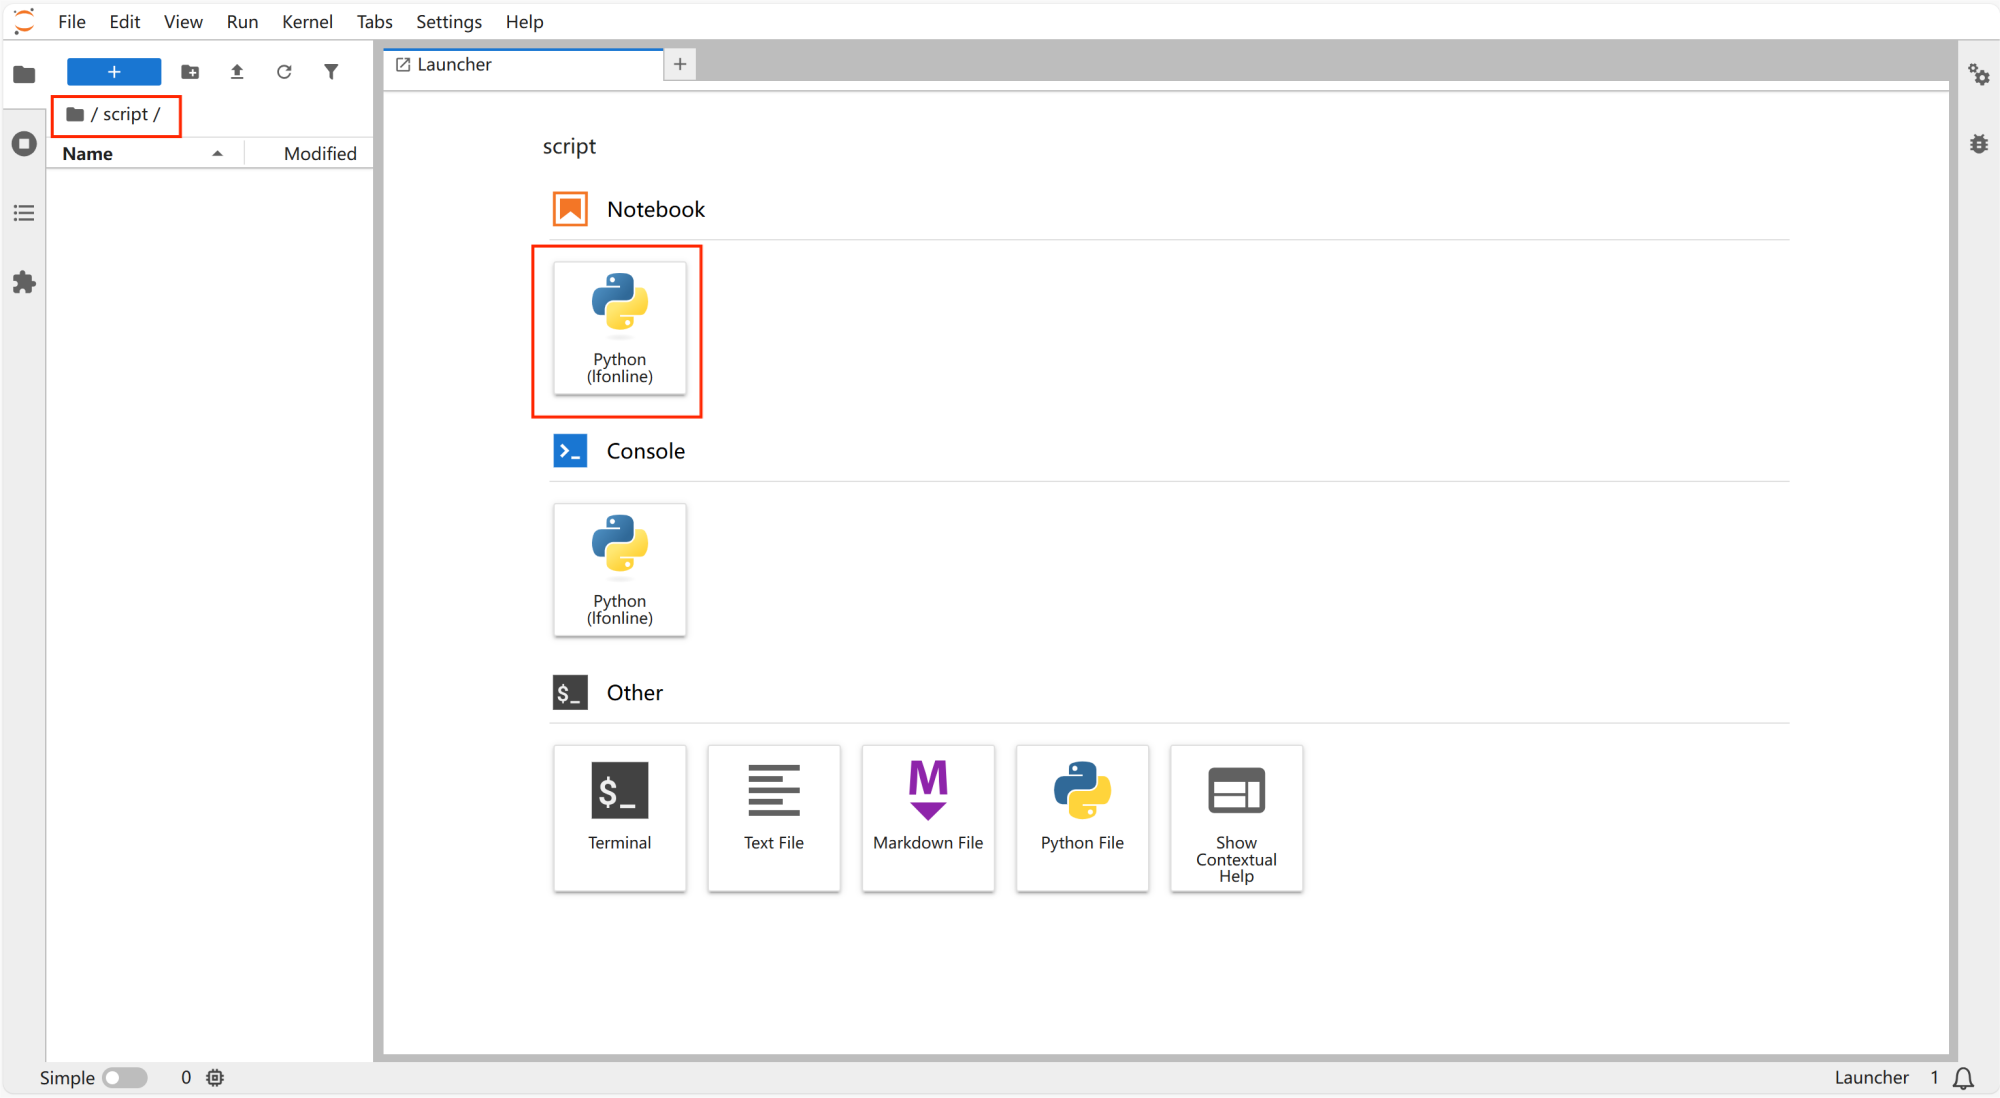
打开“script”,点击“notebook”里的“python”新建文件。
-
输入以下代码:
import json

prefix_path = "/workspace/llamafactory/data/CoVLA/qa_images"

def transform_data(input_file, output_file):
# Read the data from the input file
    with open(input_file, 'r', encoding='utf-8') as f:
        data = json.load(f)

    transformed_data = []

    for entry in data:
        conversations = entry['conversations']
        image_path = entry['image']
        image_path = prefix_path + image_path

    # Count the number of <image> tags in the conversations
    image_count = sum(conversation['value'].count('<image>') for conversation in conversations)

    # Create the images list based on the count of <image> tags
    images = [image_path] * image_count

    # Construct the new entry
    new_entry = {
        "conversations": conversations,
        "images": images
    }

    transformed_data.append(new_entry)

    # Write the transformed data to the output file
    with open(output_file, 'w', encoding='utf-8') as f:
        json.dump(transformed_data, f, indent=2, ensure_ascii=False)


# Example usage
input_file = 'CoVLA.json'  # Replace with your input JSON file path
output_file = 'CoVLA_llamafactory.json'  # Replace with your desired output JSON file path
transform_data(input_file, output_file)

print(f"Transformation complete. Data saved to {output_file}")
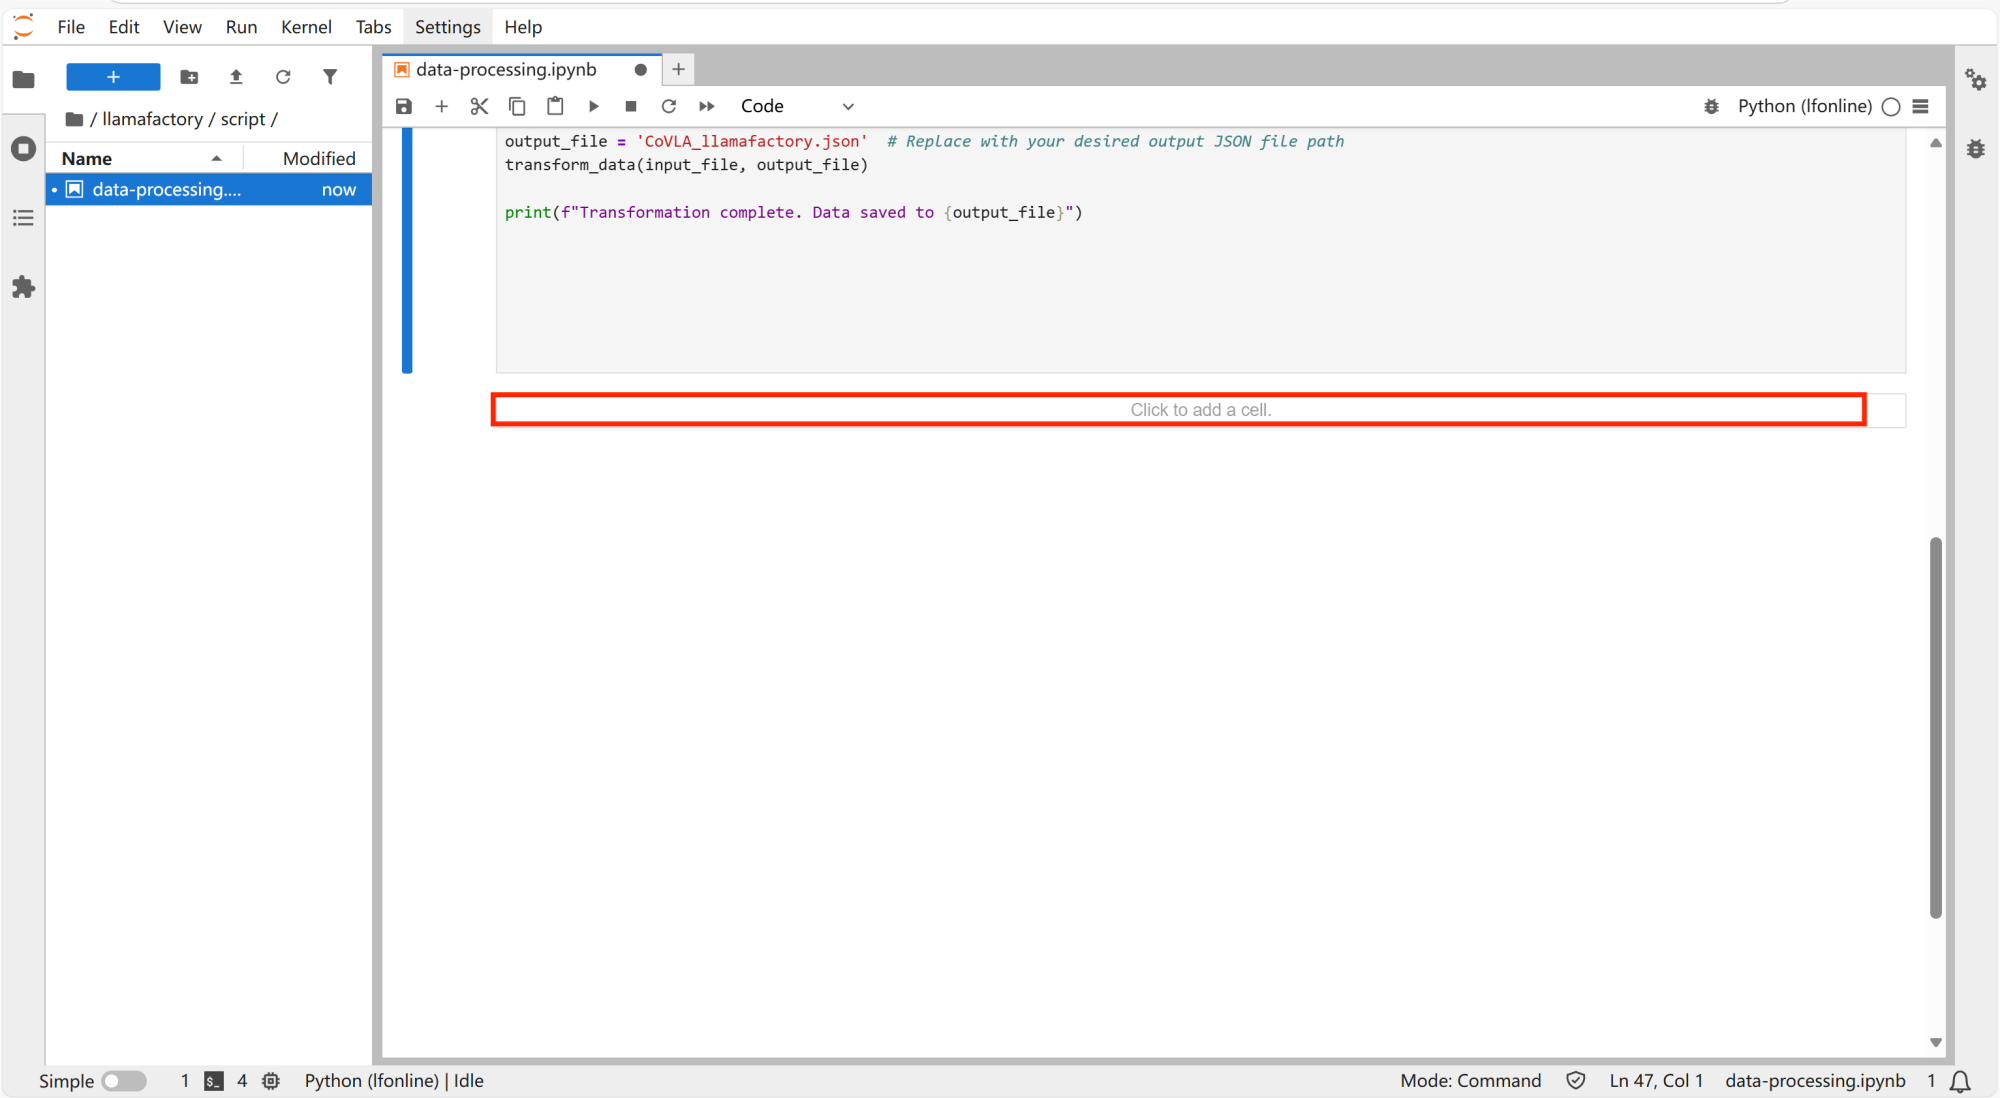
-
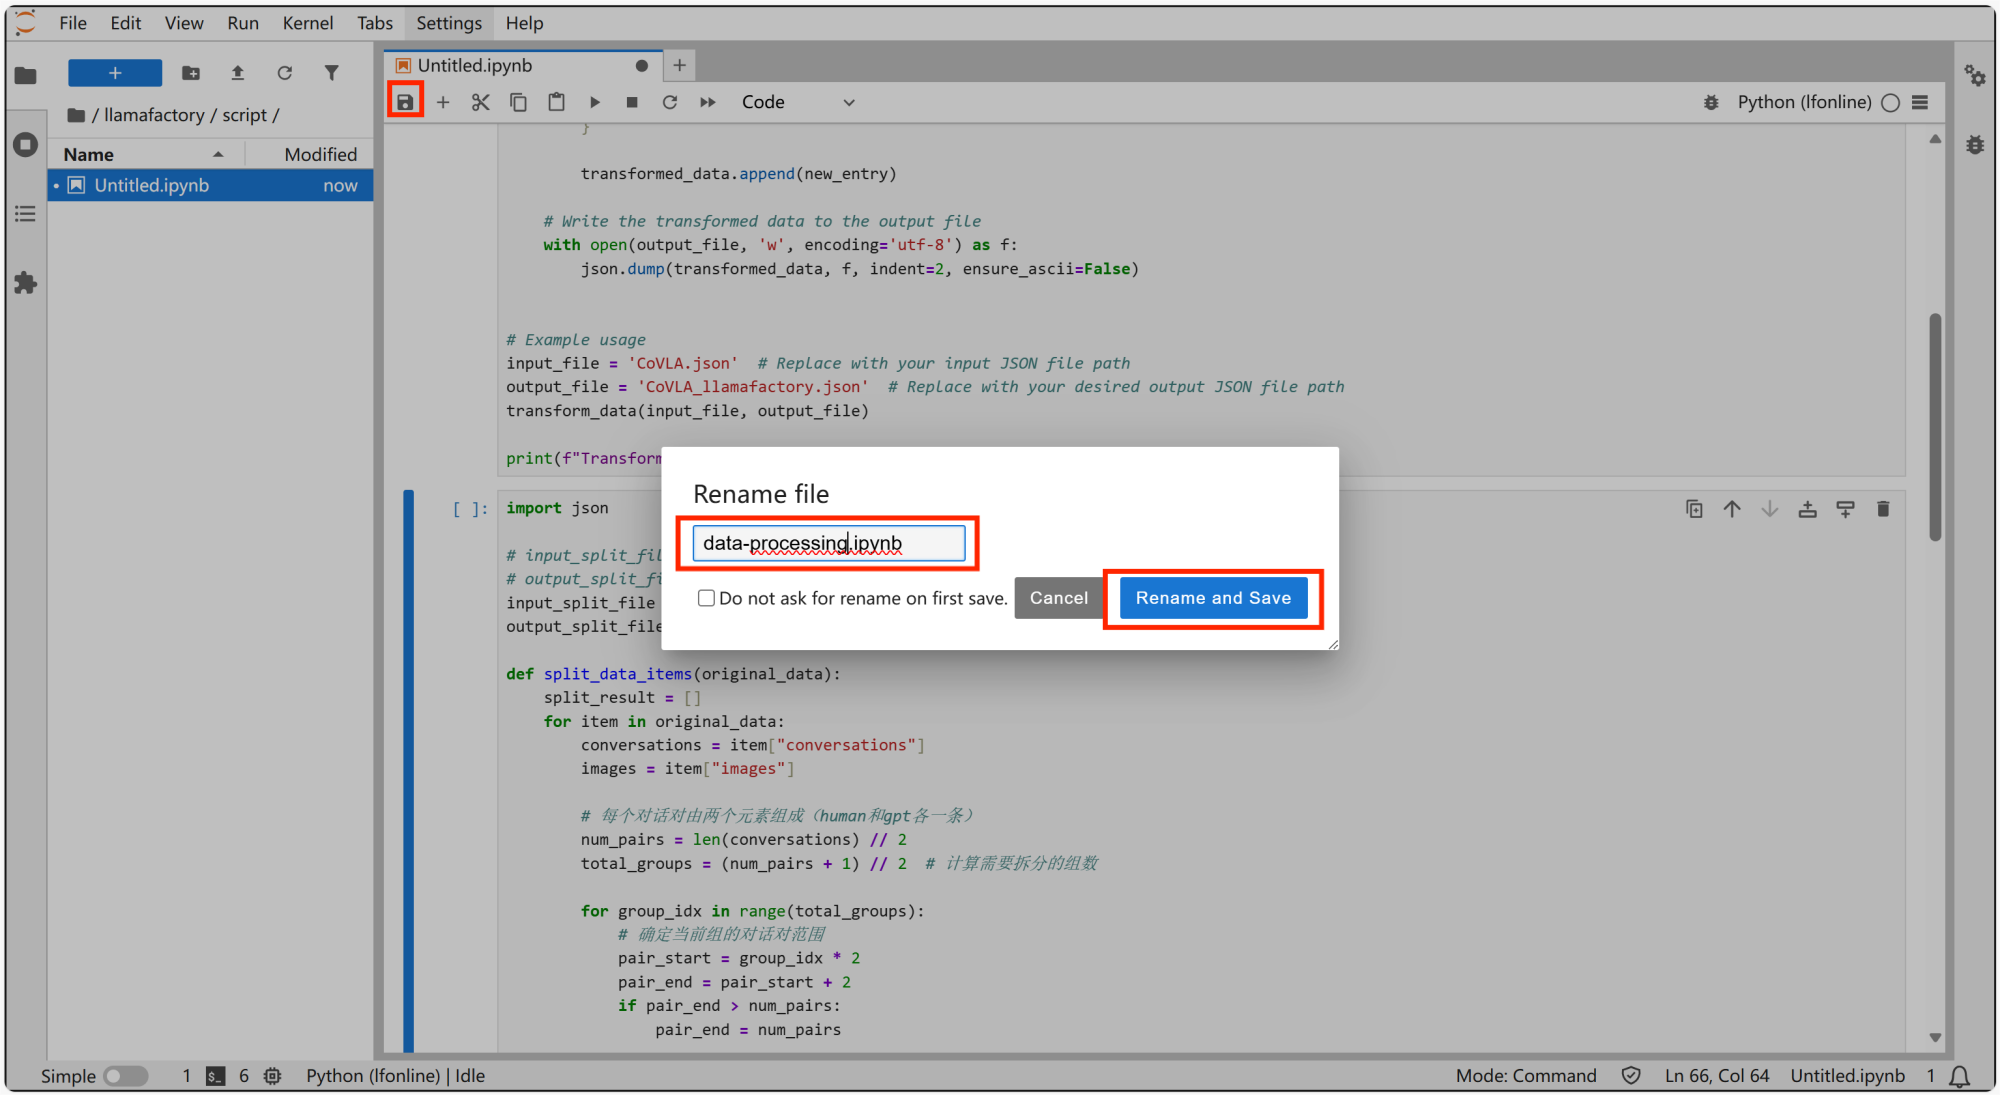
保存并更改文件名为“data-processing”。
-
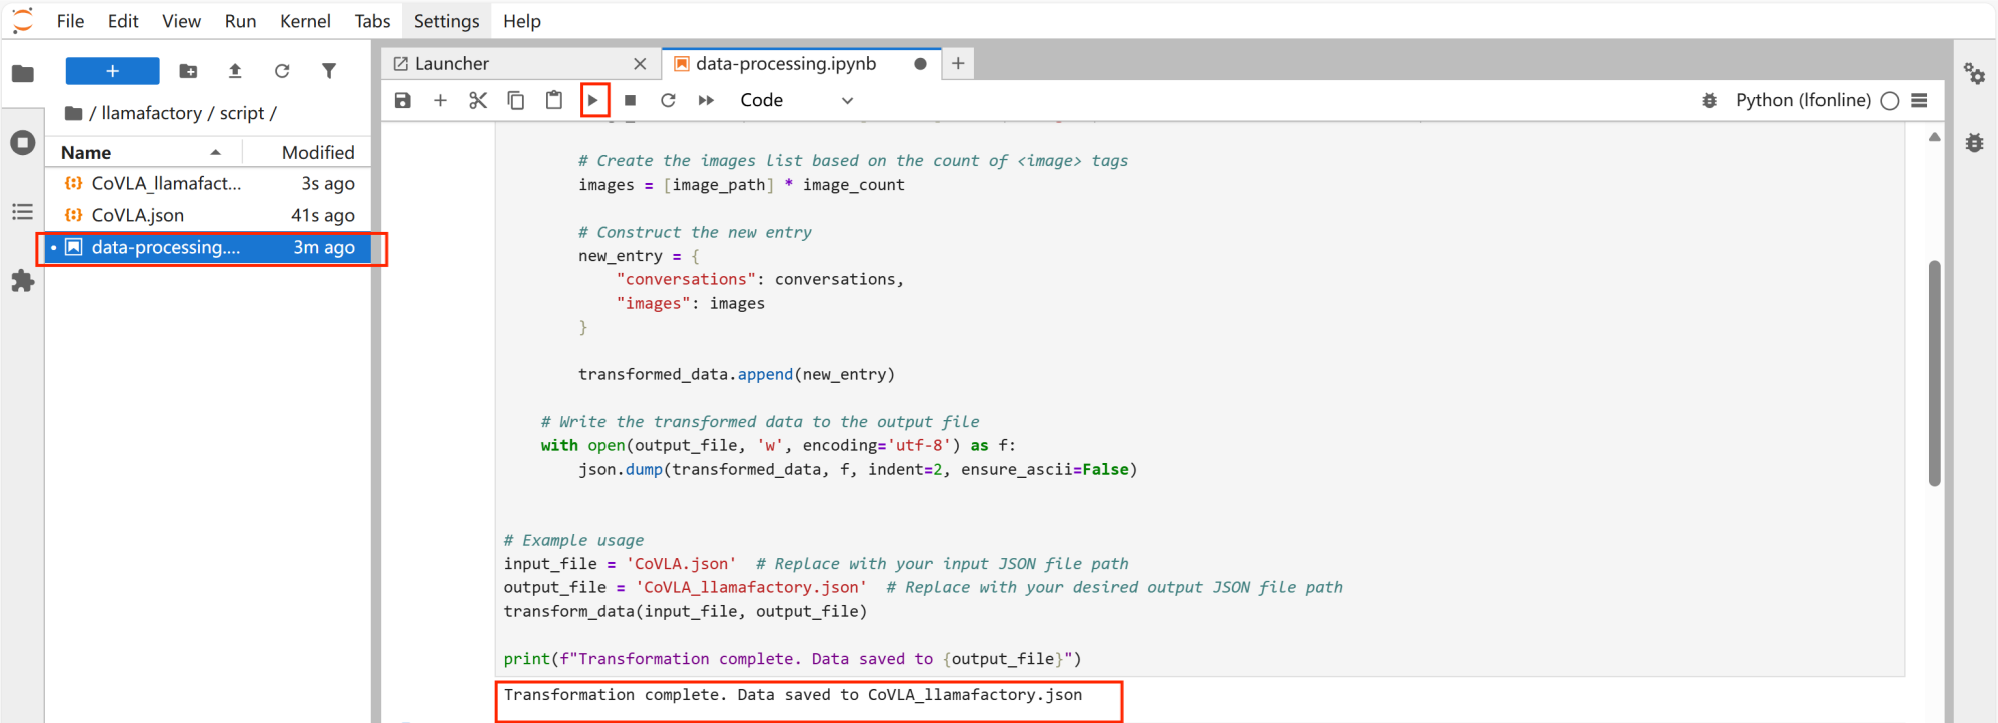
点击运行,并出现以下提示,显示标准化成功。
-
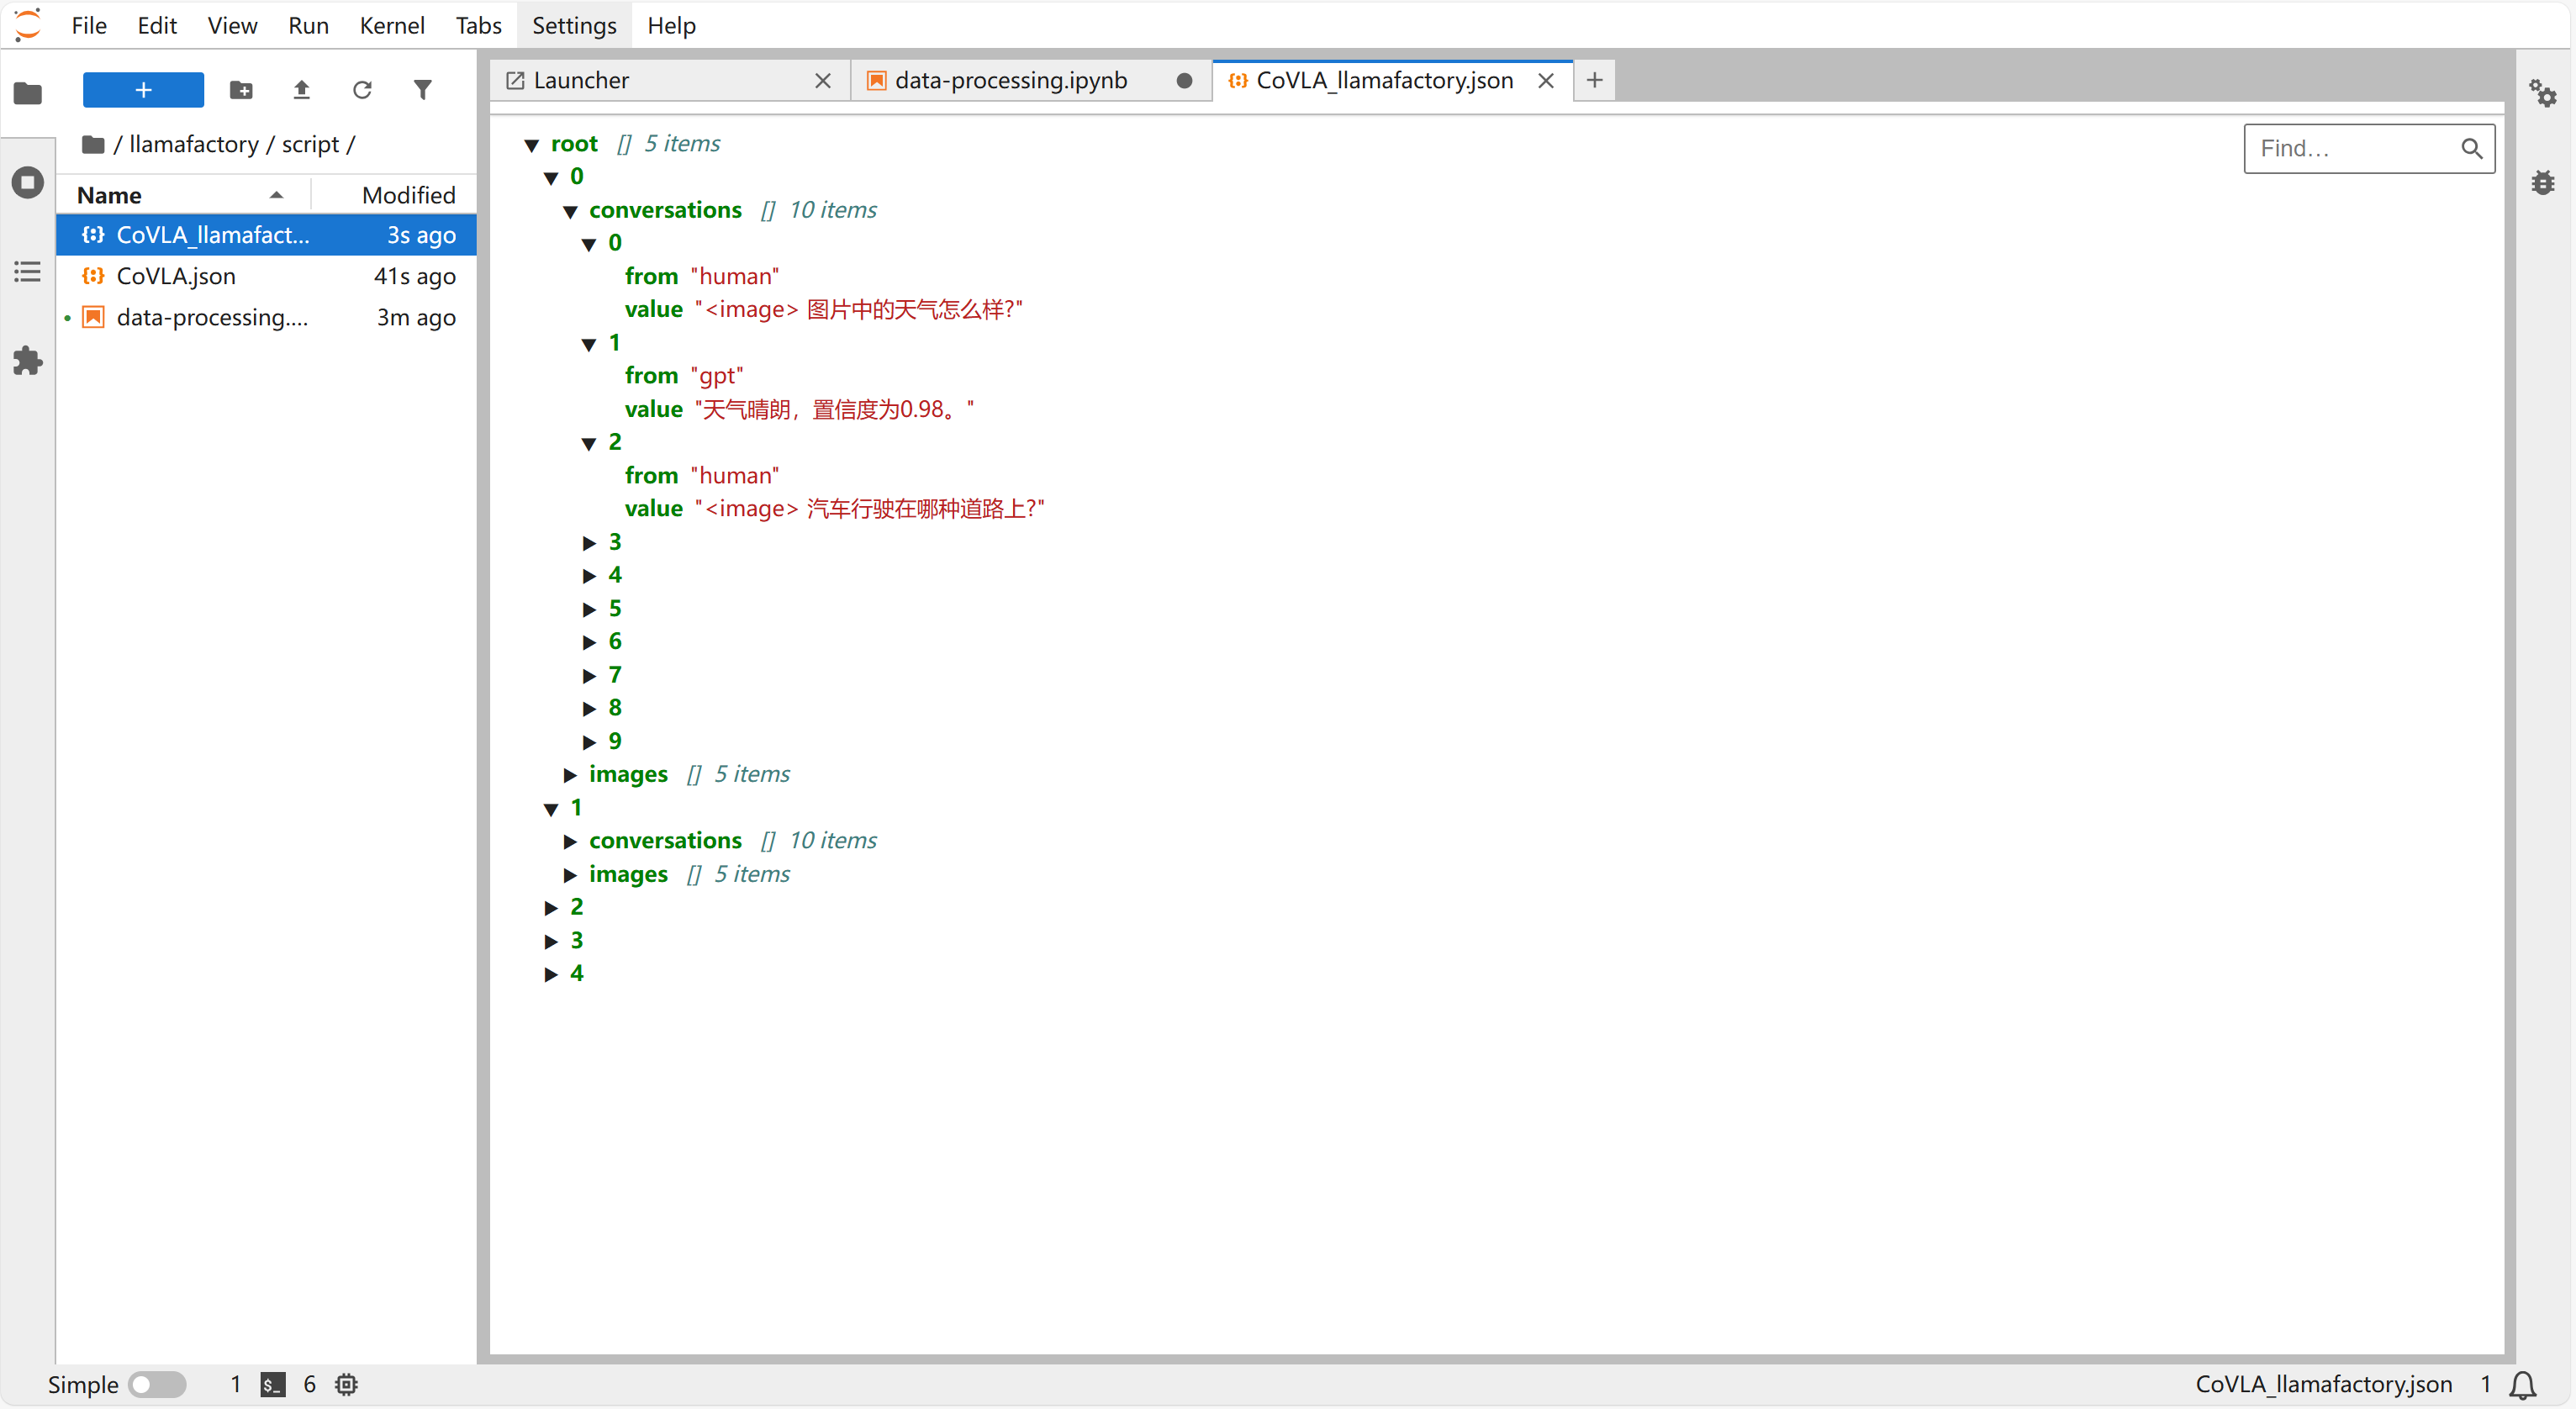
点击“script”下新增的“CoVLA_llamafactory.json”文件,可以查看标准化之后的数据集。
数据集分割
该数据集图片文件较大,每个批次最多加载两张图片,需要对转换后的llamafactory online数据集进行分割,以更好的进行加载训练。
-
打开“/llamafactory/script”中的data-processing文件,点击“Click to add a cell”新建单元。
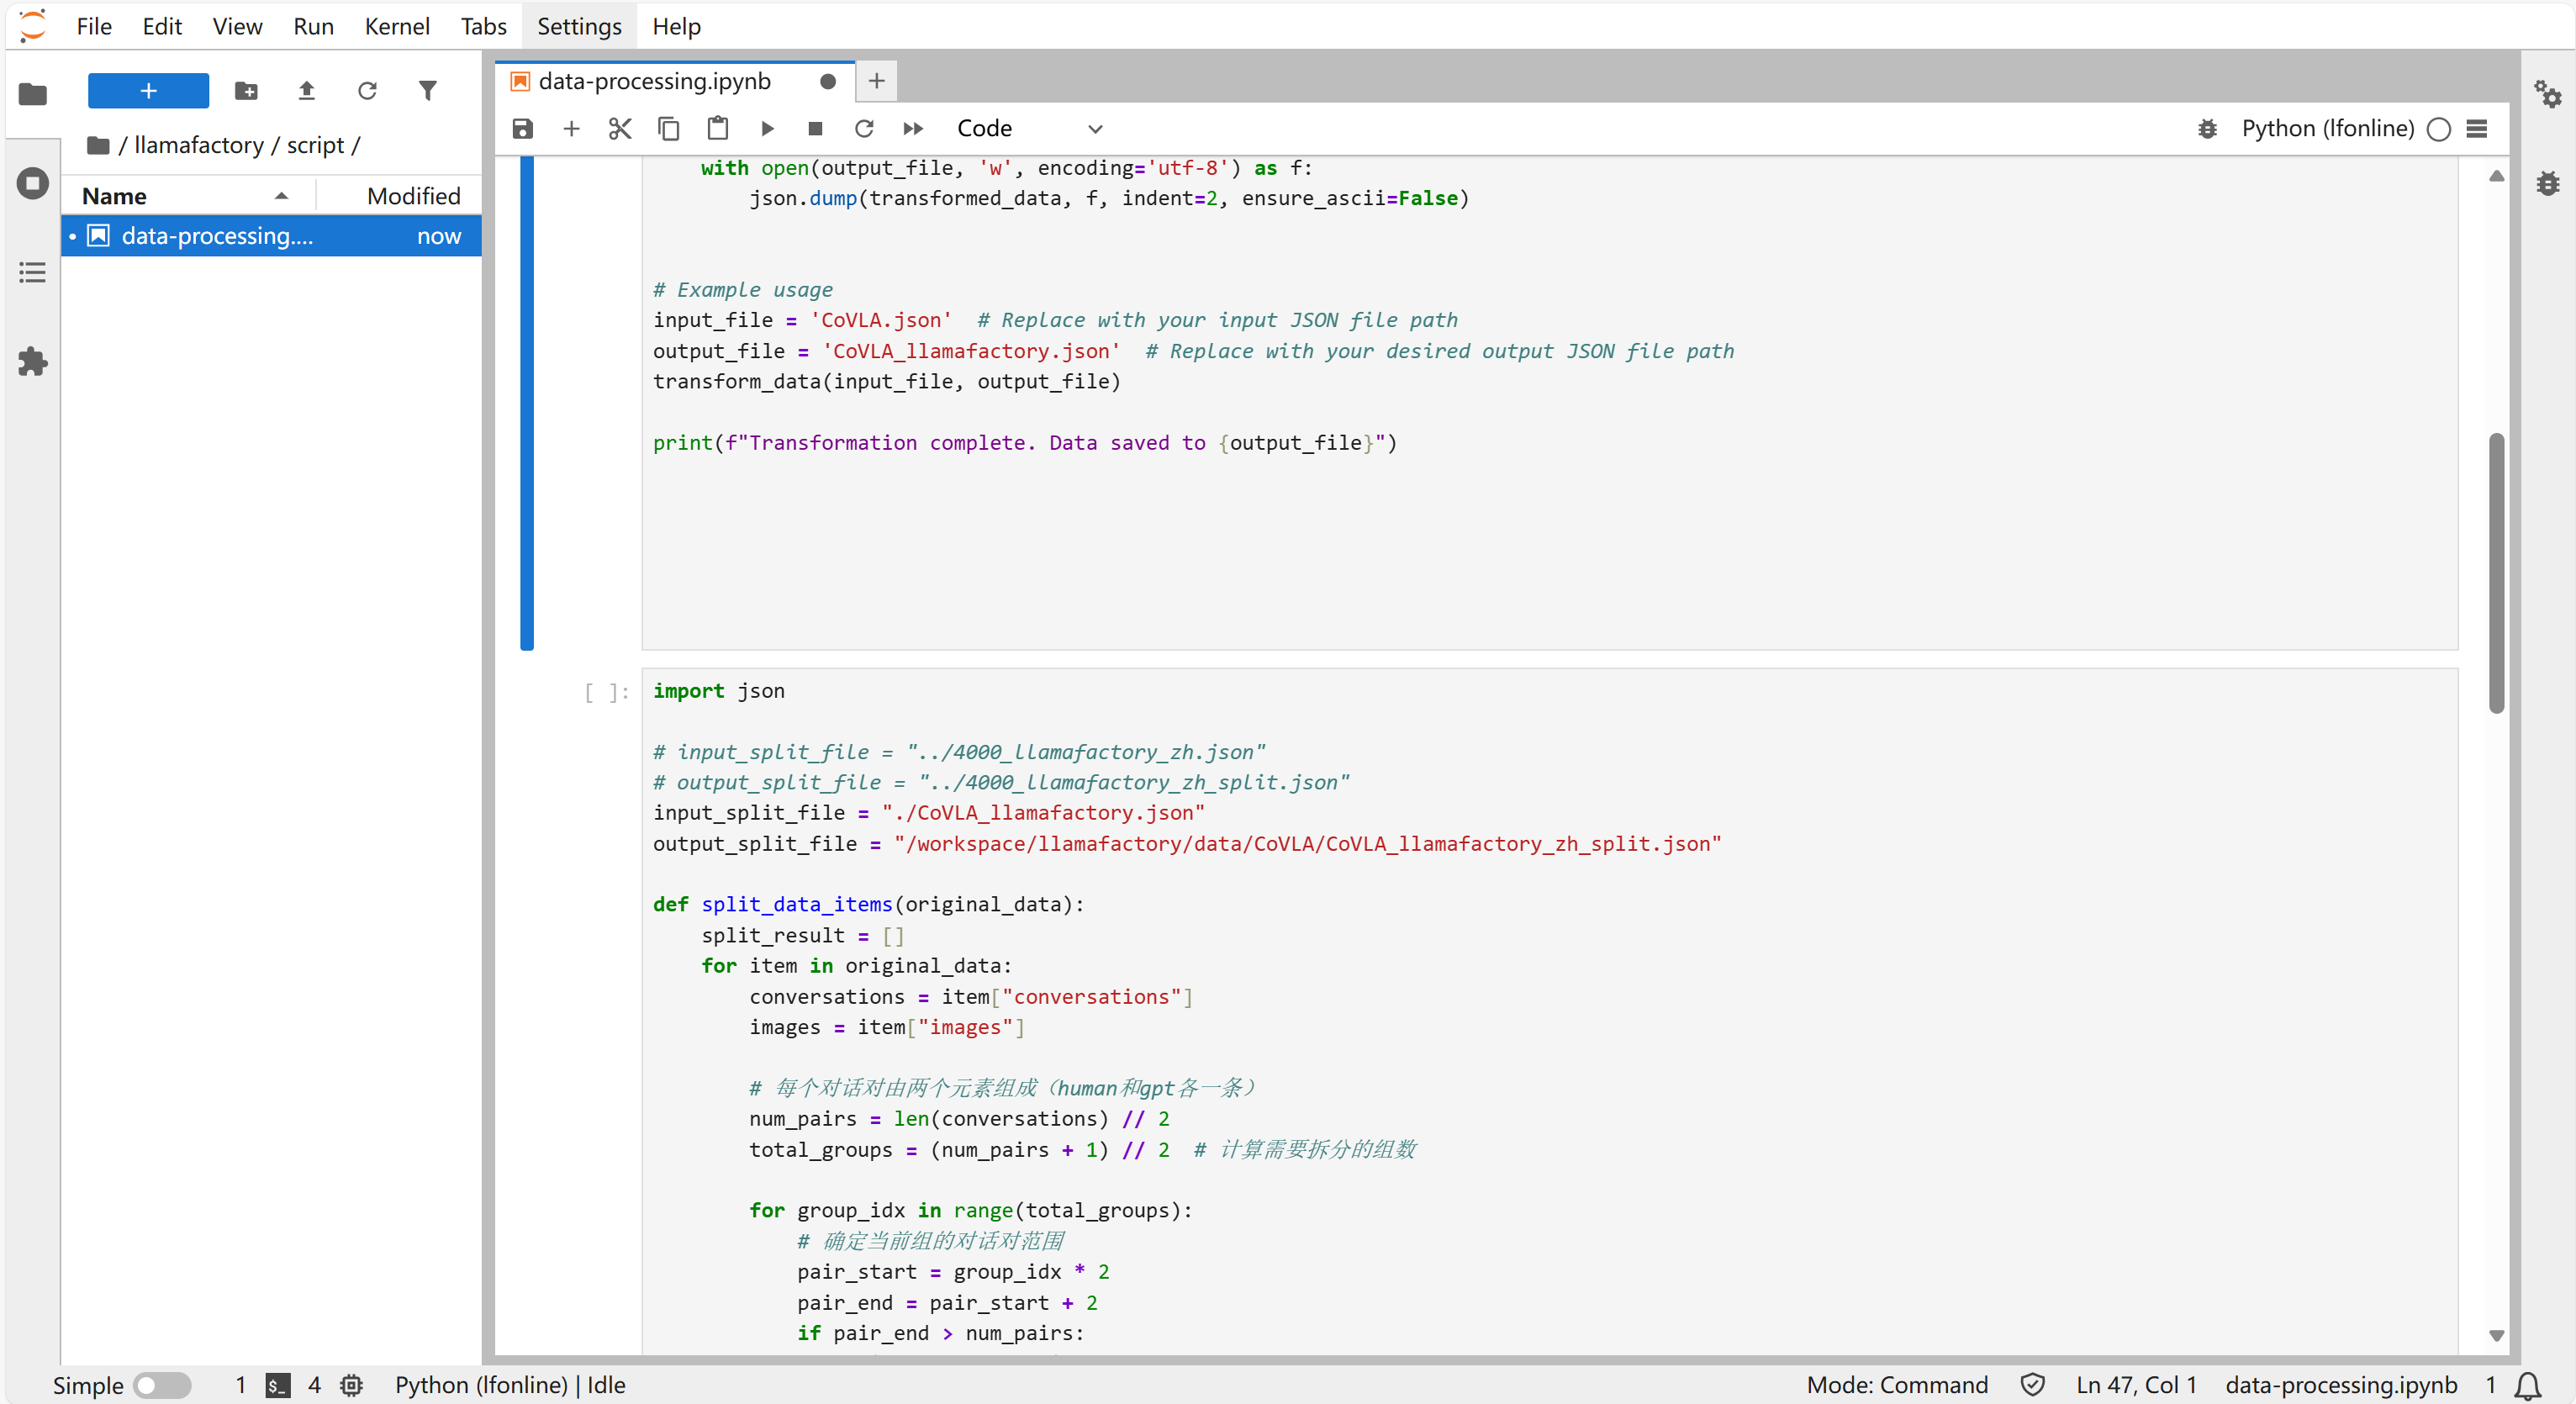
-
输入以下代码:
import json

# input_split_file = "../4000_llamafactory_zh.json"
# output_split_file = "../4000_llamafactory_zh_split.json"
input_split_file = "./CoVLA_llamafactory.json"
output_split_file = "/workspace/llamafactory/data/CoVLA/CoVLA_llamafactory_zh_split.json"

def split_data_items(original_data):
    split_result = []
    for item in original_data:
        conversations = item["conversations"]
        images = item["images"]

        # 每个对话对由两个元素组成(human和gpt各一条)
        num_pairs = len(conversations) // 2
        total_groups = (num_pairs + 1) // 2  # 计算需要拆分的组数

        for group_idx in range(total_groups):
            # 确定当前组的对话对范围
            pair_start = group_idx * 2
            pair_end = pair_start + 2
            if pair_end > num_pairs:
                pair_end = num_pairs

            # 提取对应的conversations部分
            conv_start_idx = pair_start * 2
            conv_end_idx = pair_end * 2
            current_convs = conversations[conv_start_idx:conv_end_idx]

            # 提取对应的images部分
            img_start_idx = pair_start
            img_end_idx = pair_start + (pair_end - pair_start)
            current_imgs = images[img_start_idx:img_end_idx]

            # 构建新的数据项
            new_item = {
                "conversations": current_convs,
                "images": current_imgs
            }
            split_result.append(new_item)

    return split_result


#
# with open("../4000_llamafactory_zh.json", "r", encoding="utf-8") as f:
#     original_data = json.load(f)
# with open(r"D:\pyProject\pythonpractice\5000_llamafactory.json", "r", encoding="utf-8") as f:
#     original_data = json.load(f)

with open(input_split_file, "r", encoding="utf-8") as f:
    original_data = json.load(f)

# 执行拆分
split_result = split_data_items(original_data)
print(len(split_result))

# with open(r"D:\pyProject\pythonpractice\5000_llamafactory_split.json", "w", encoding="utf-8") as f:
#     json.dump(split_result, f, indent=2, ensure_ascii=False)
with open(output_split_file, "w", encoding="utf-8") as f:
    json.dump(split_result, f, indent=2, ensure_ascii=False)

print("数据拆分成功!")

# 输出结果
# print(json.dumps(split_result, indent=2, ensure_ascii=False))
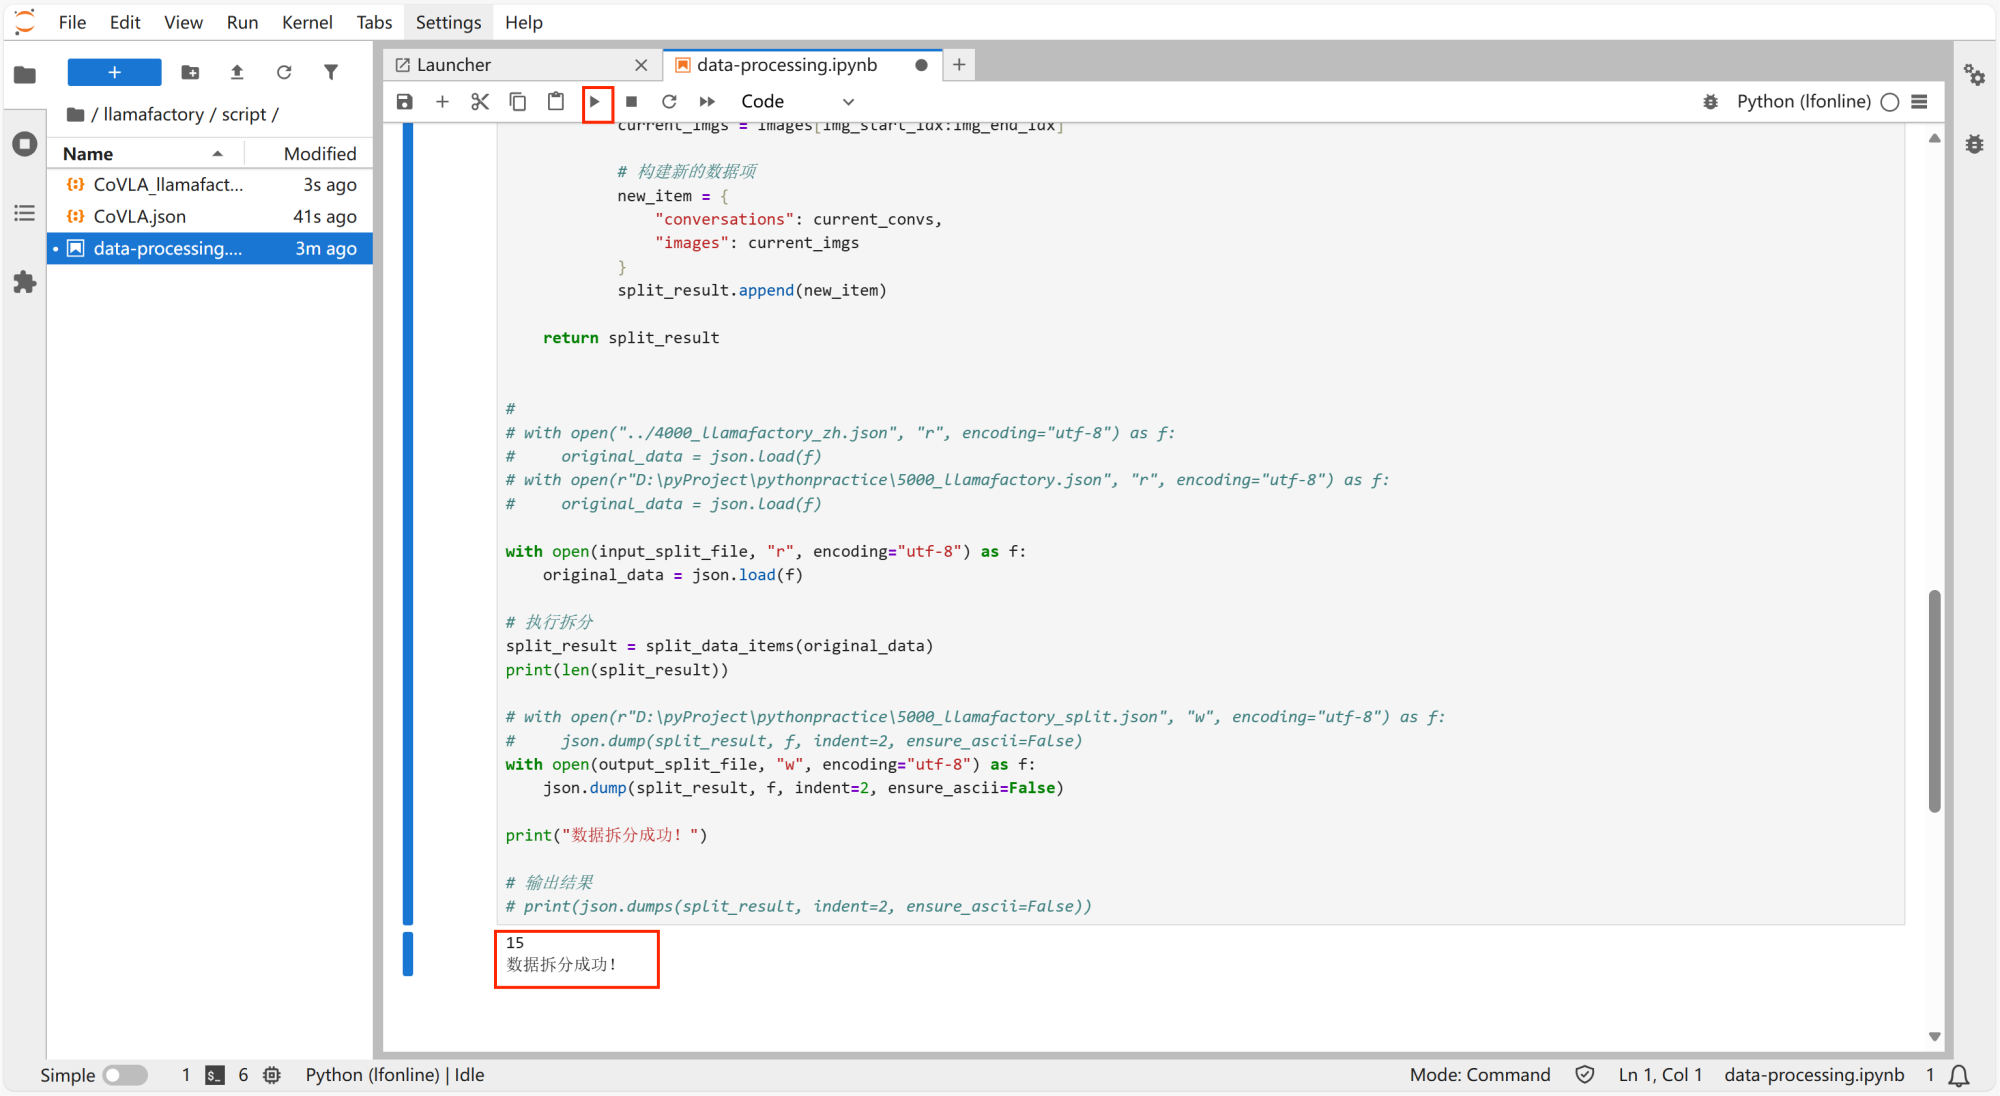
-
如下图所示,点击保存。
-
点击运行,出现以下文字,表示数据拆分成功。
-
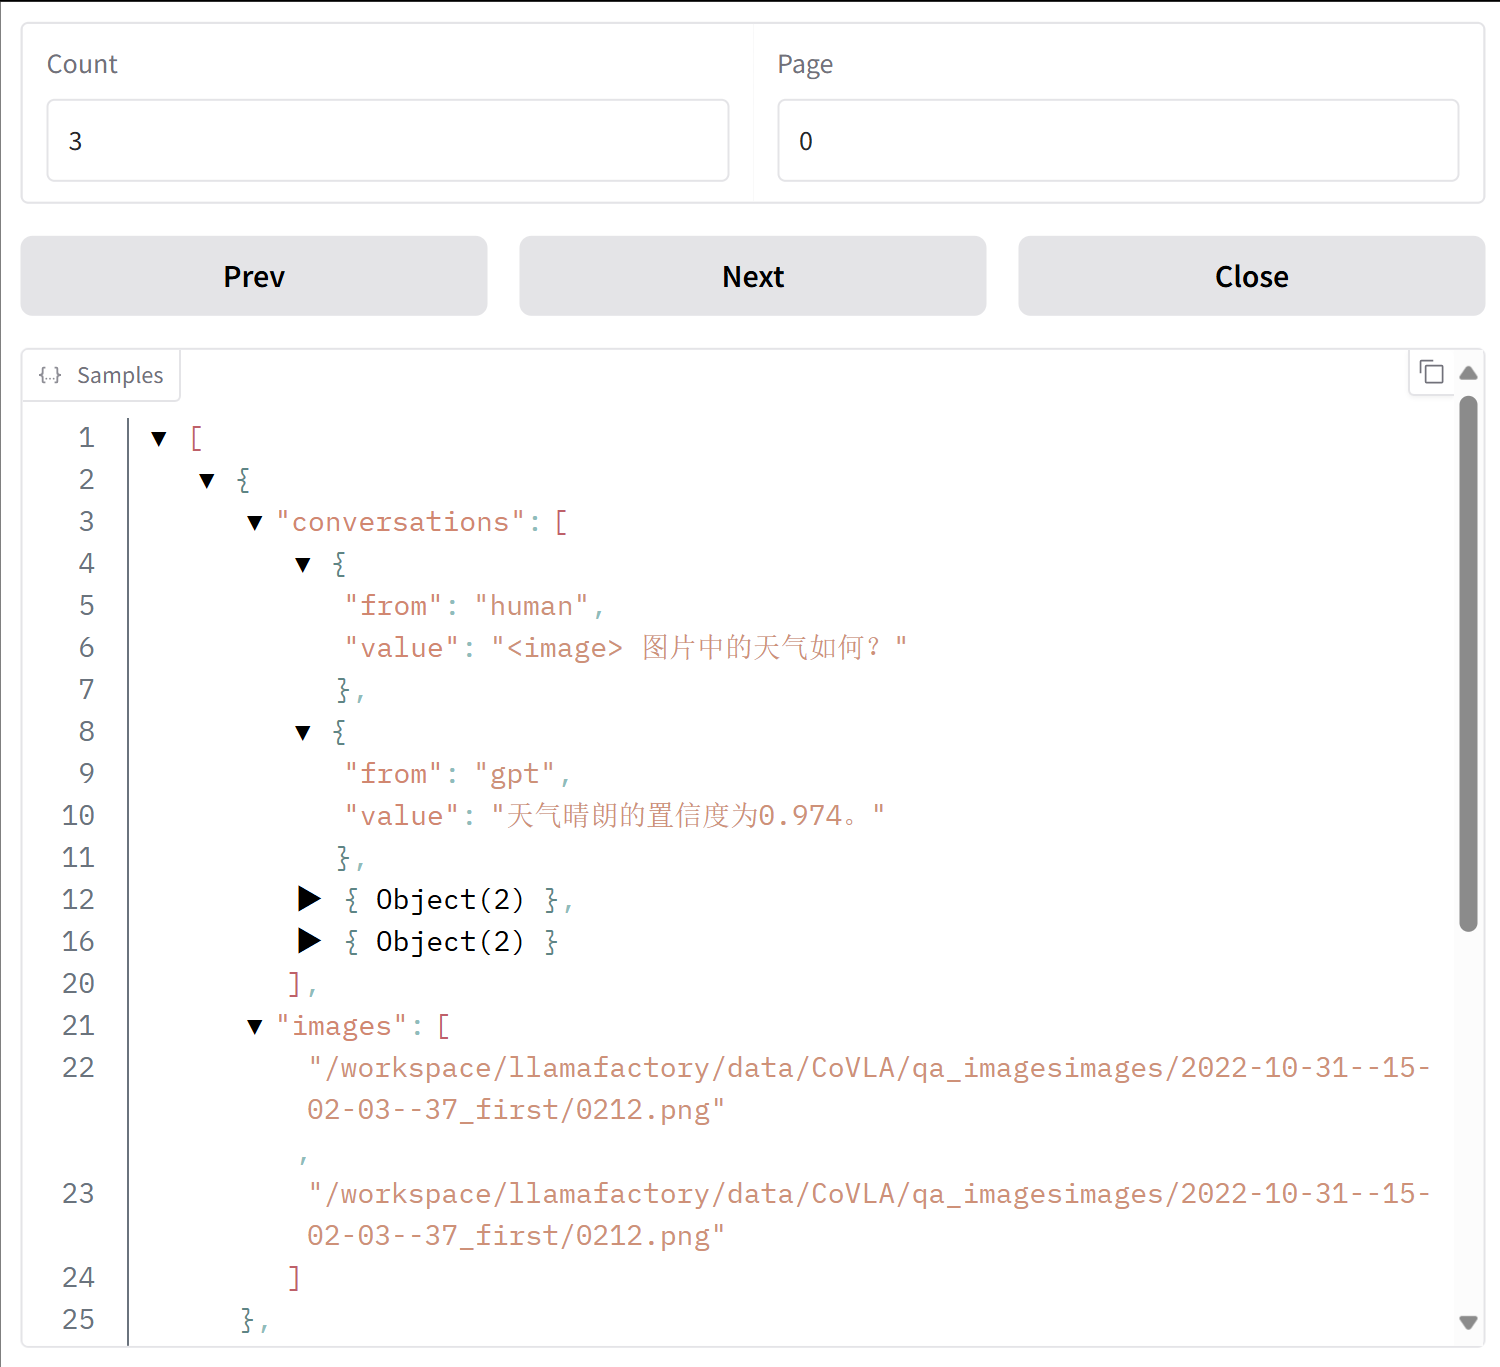
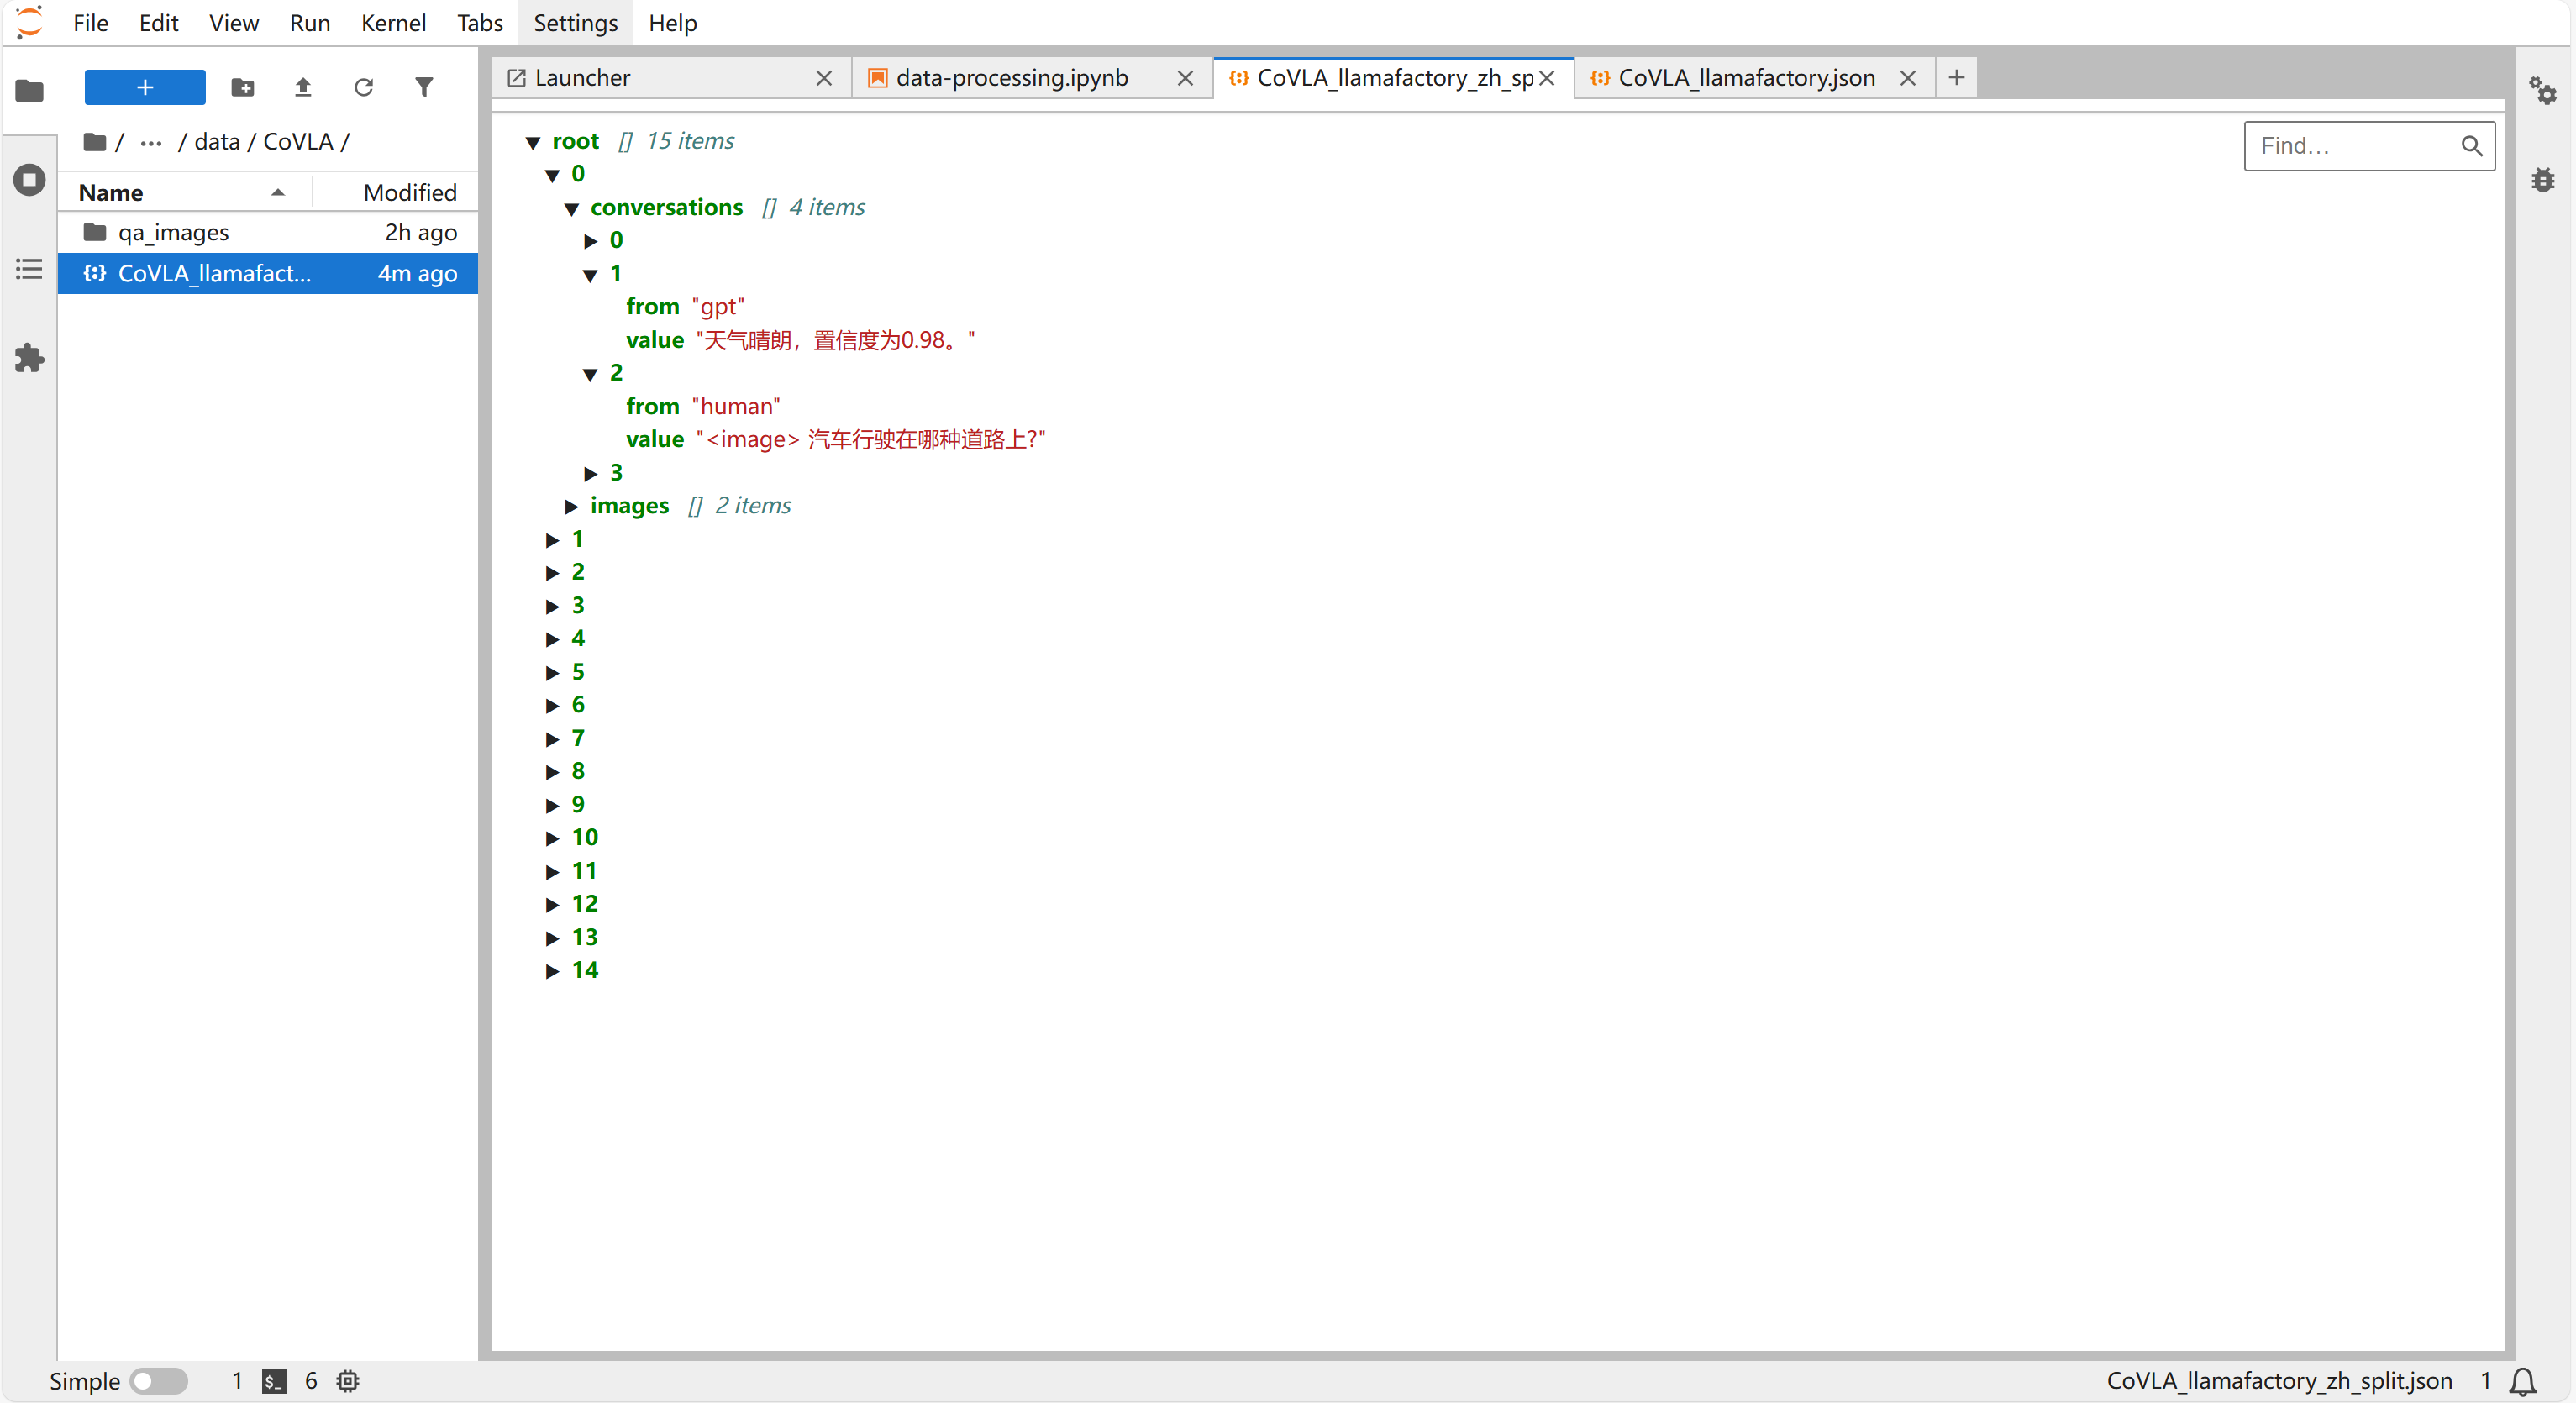
在"llamafactory/data/CoVLA"的文件夹中能看到拆分好的数据集“CoVLA_llamafactory_zh_split”。
-
最终可以使用CoVLA_llamafactory_zh_split.json数据集,在llamafactory上进行大模型的微调。
配置数据集信息
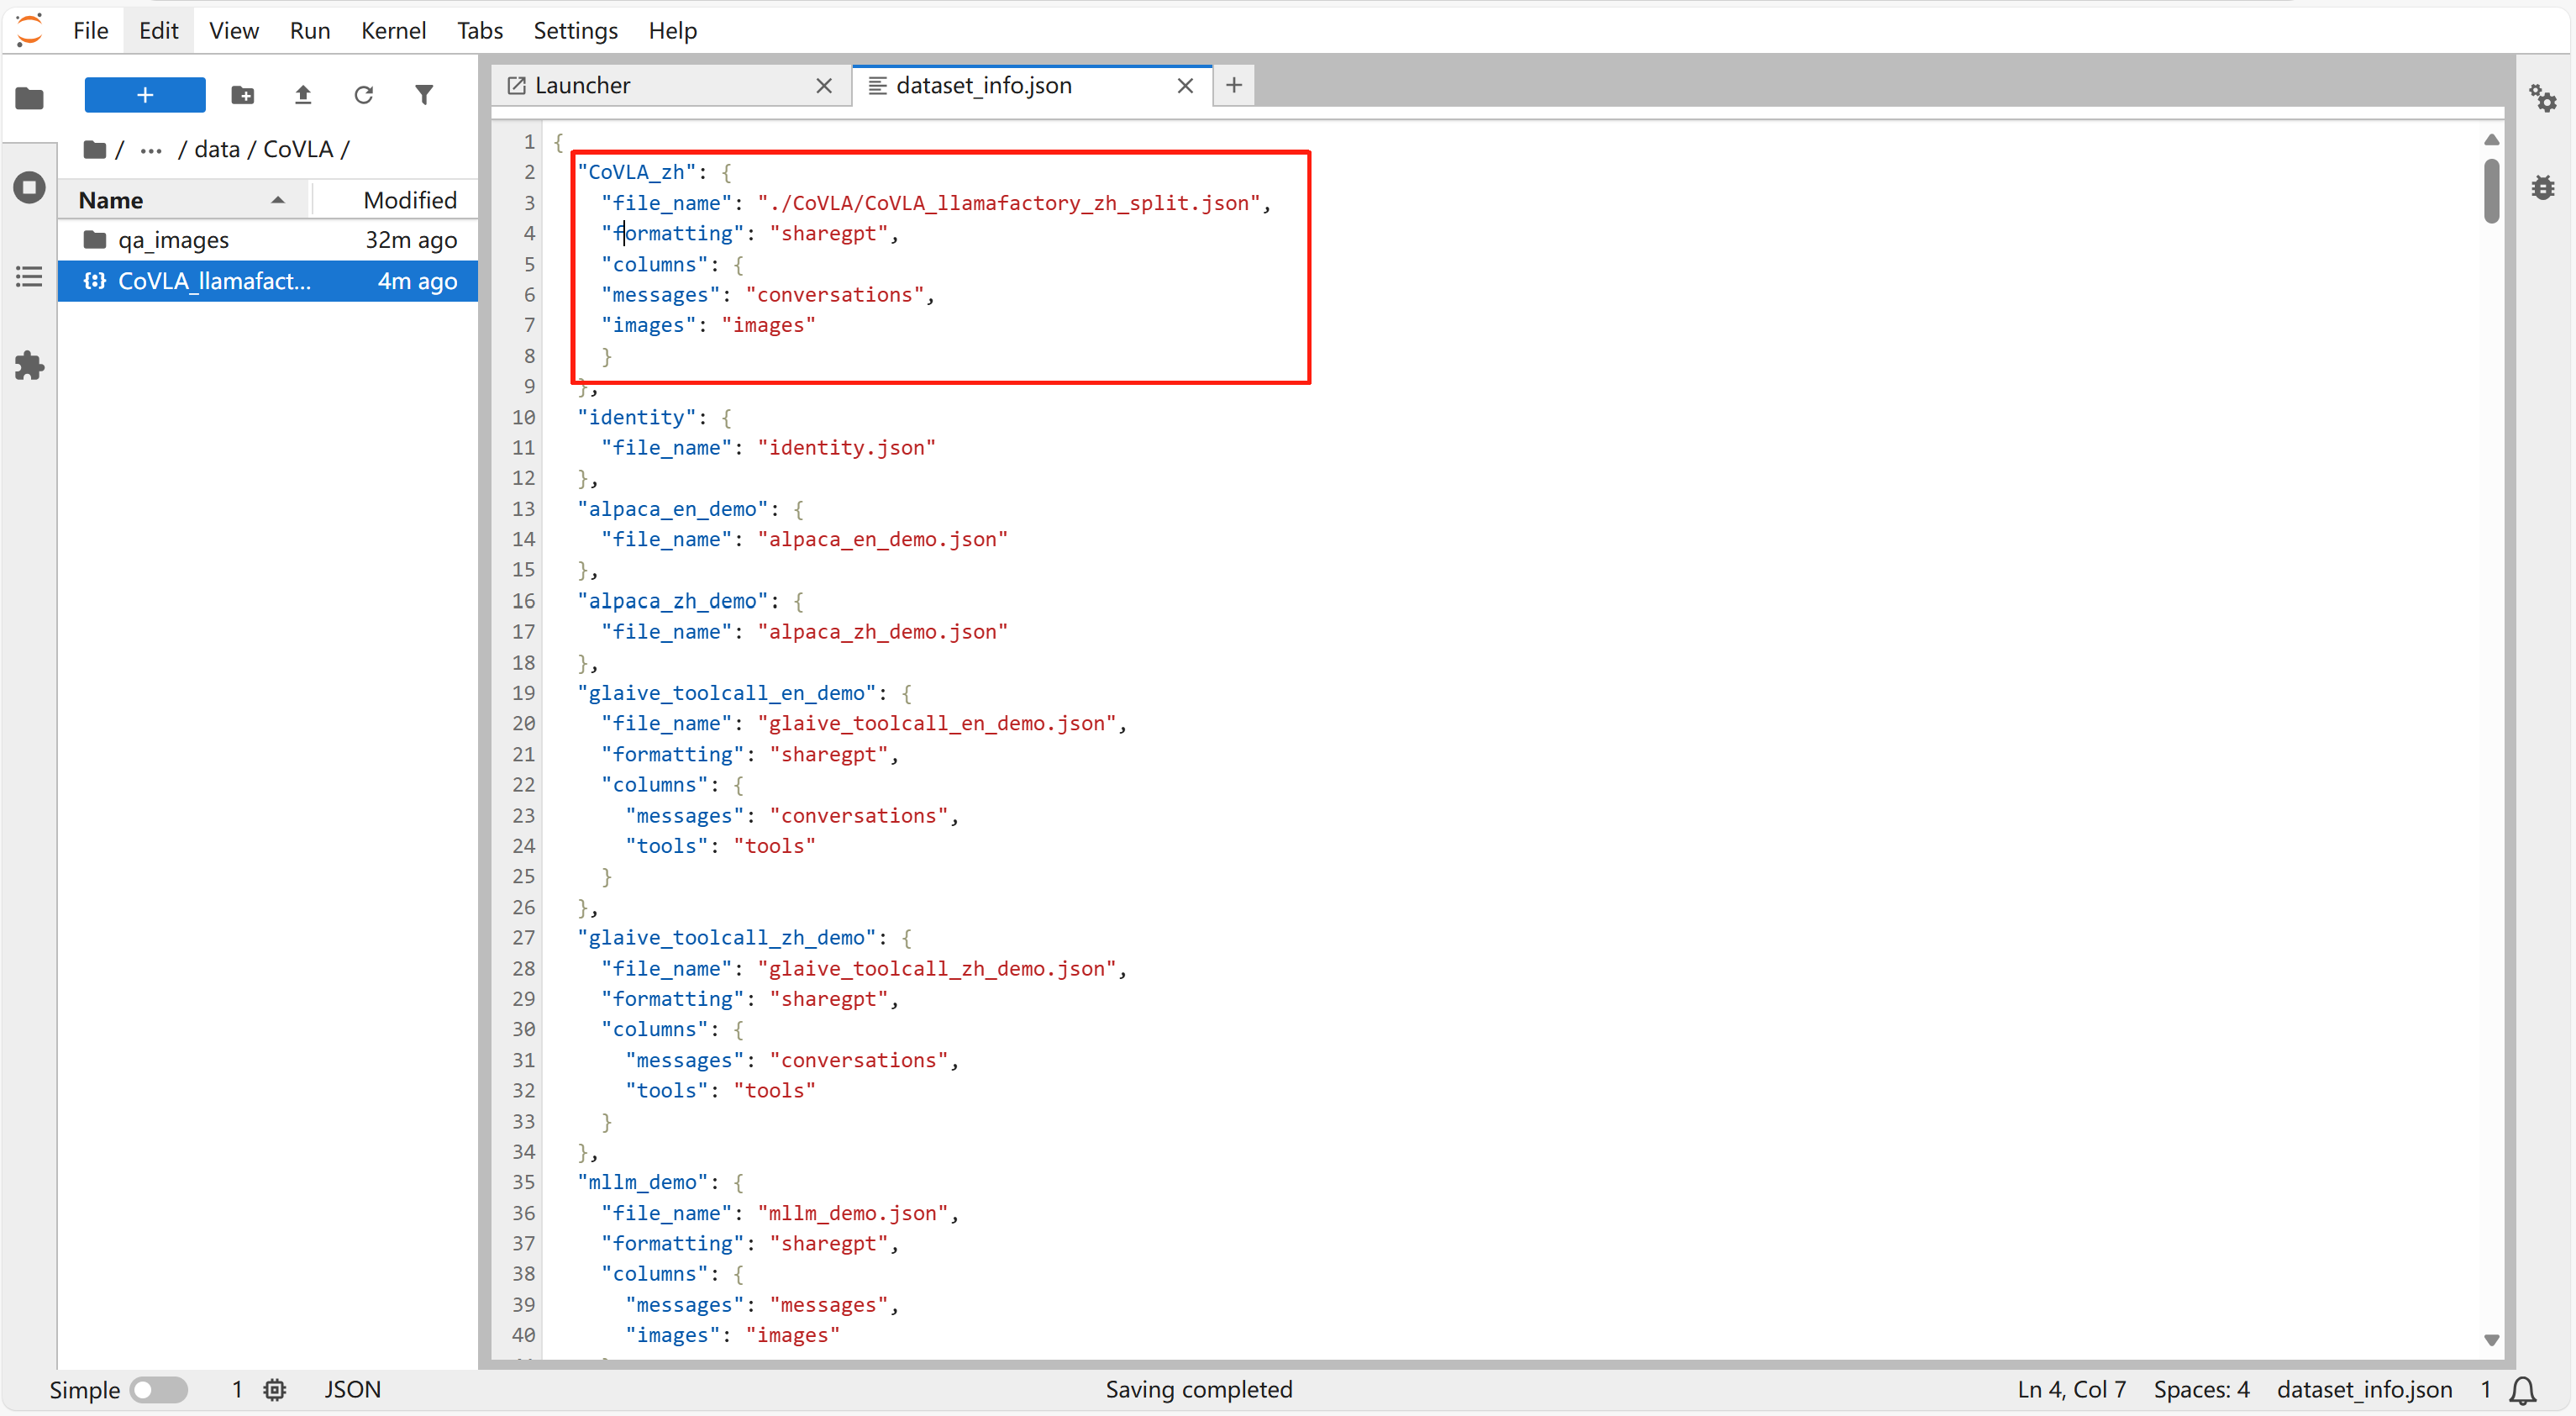
- 打开“dataset_info.json”文件,加入如下内容:
"CoVLA_zh": {
    "file_name": "./CoVLA/CoVLA_llamafactory_zh_split.json",
    "formatting": "sharegpt",
    "columns": {
    "messages": "conversations",
    "images": "images"
    }
},
点击 "crt+s" 保存即可。
-
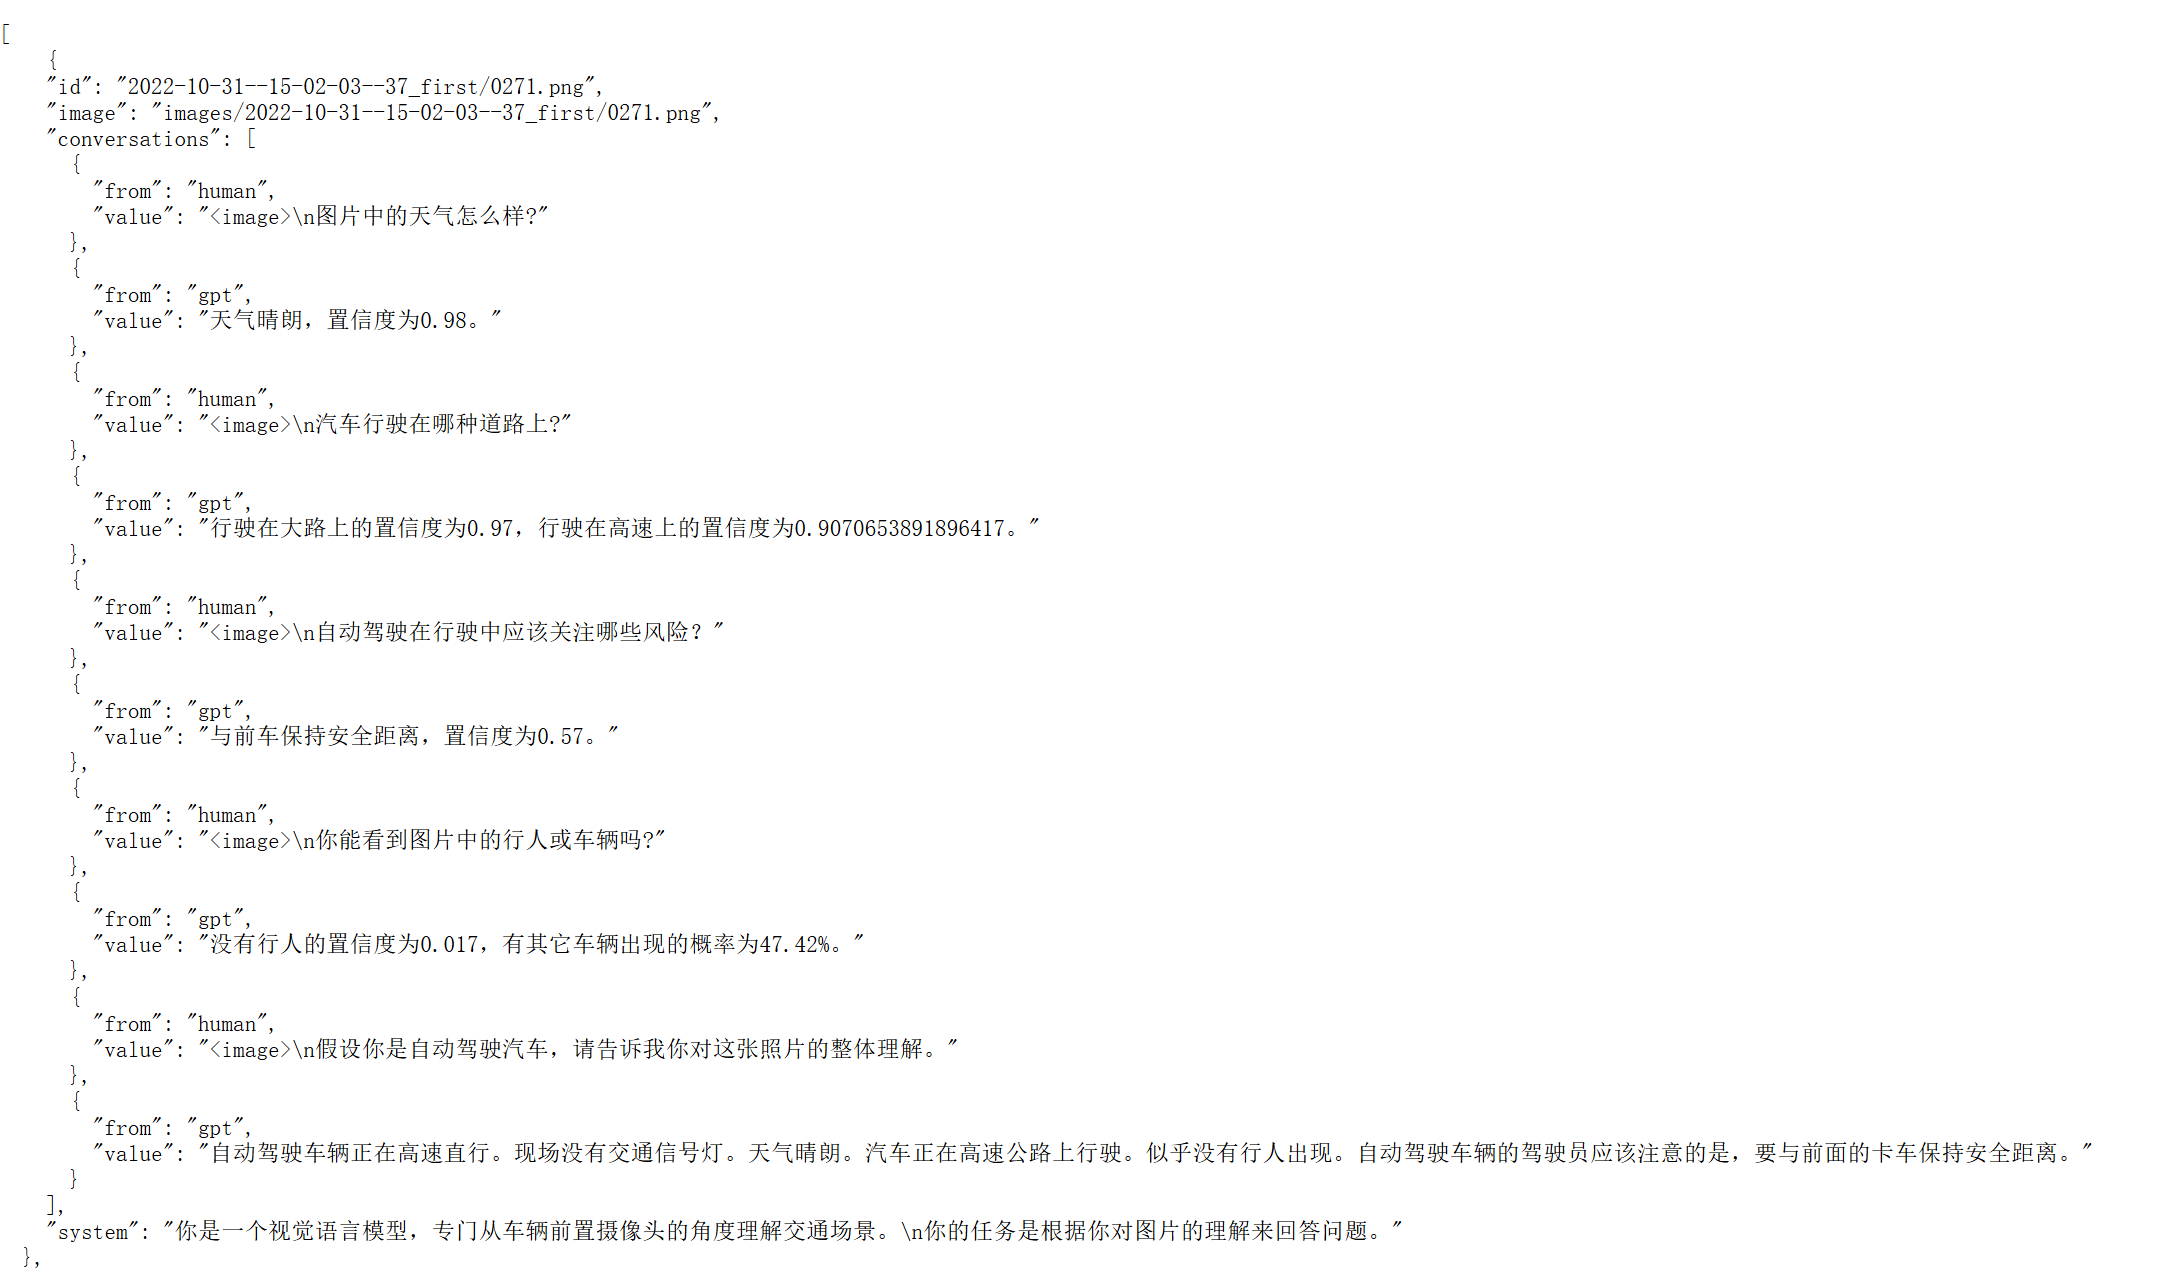
打开“LlamaFactory快速微调模型”,在“Dataset”里可以看到处理好的数据集。

-
点击“预览数据集”,即可预览。